
Hello
there my lovely readers!
You
can't really get more festive than with Christmas Tree's eh &
its a design which I like to do on my nails every year. You can check out my last
two HERE and HERE. I try & change up the design a wee bit each
time & go for something new which is what I have done again this
year & I think this may actually be my favourite! So without
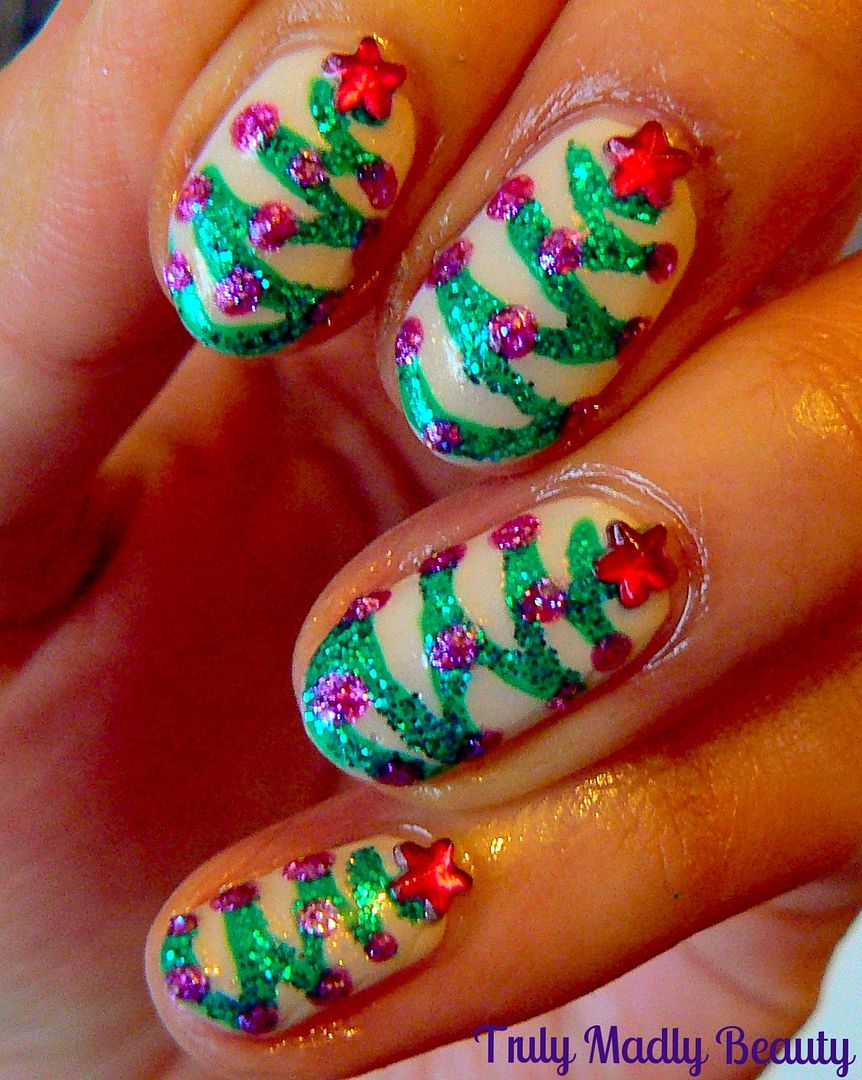
further ado, here's Festive mani number 4...Christmas Trees!
What
I love about this design is that its great if you're a bit uneasy
with doing complex nail art as the design is nice, simple &
relatively straightforward to create!
I
wanted my trees to stand out as...well..we know I've made the mistake
of using too dark a base before...AHEM O_O *flashbacks to
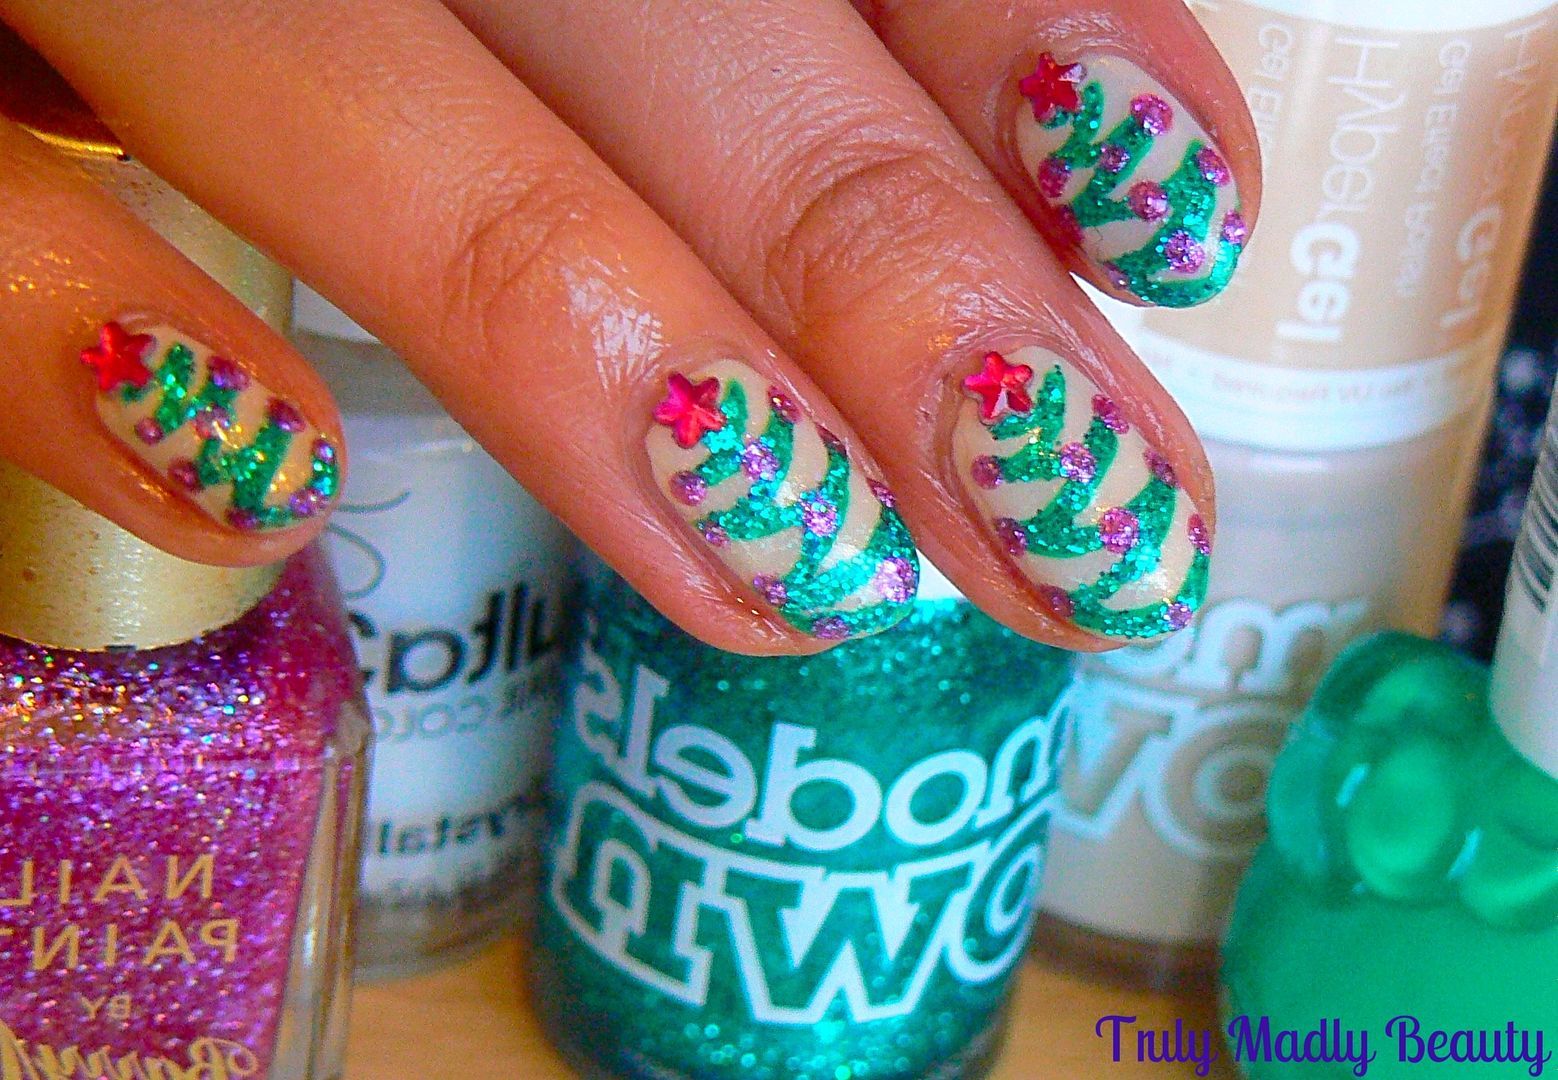
HERE...erases from memory* So for my base this time I opted for
Models Own Hypergel in Naked Glow, a really lovely nude beige which I
applied just one coat of.
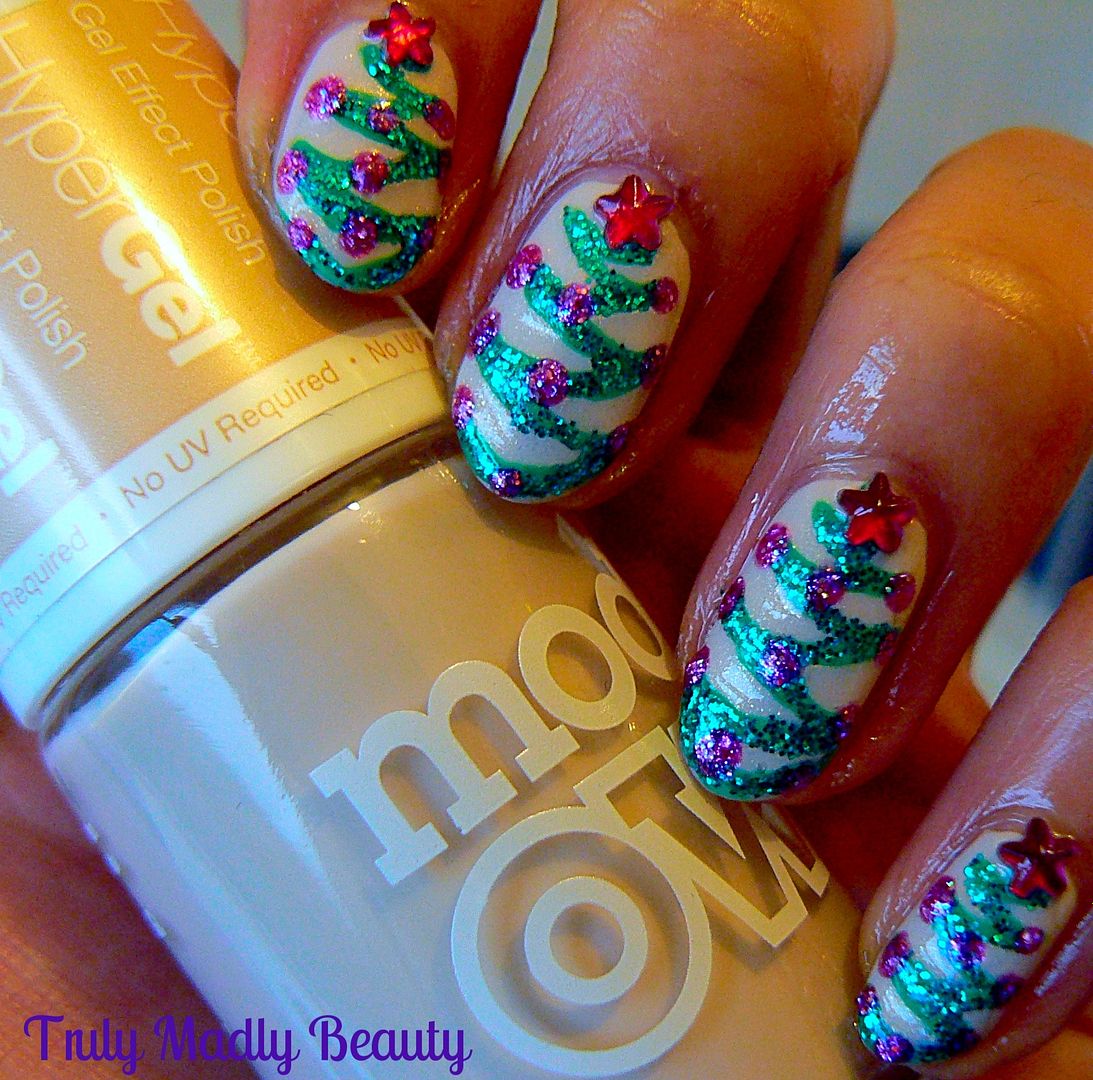
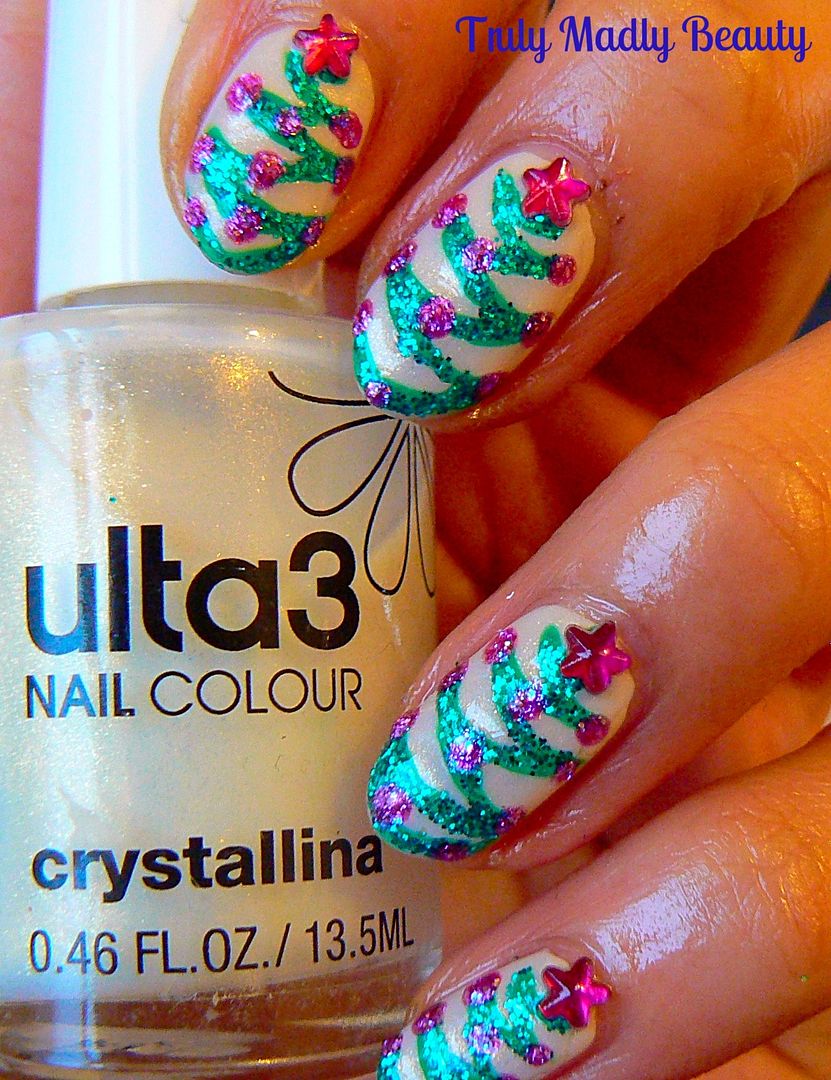
The
reason why I did only one coat of the nude is because I wanted to add
another coat of this delightful opalescent shimmer polish Crystallina by
Ulta3, which gives the base a subtle yet oh so pretty golden
luminescence that makes one feel rather fairy-esque.
Now
for the trees, to create these I reached for my Pure Color 10 brush
which is probably my best nail art purchase this year! Love this
brush so much as it has super fine bristles, great for details. I
dipped my brush in to some green polish which came courtesy of this
absolutely darn ADORABLE Hello Kitty nail polish that I found in TK
Maxx & which I may have entirely picked up purely for the
bottle...o_O

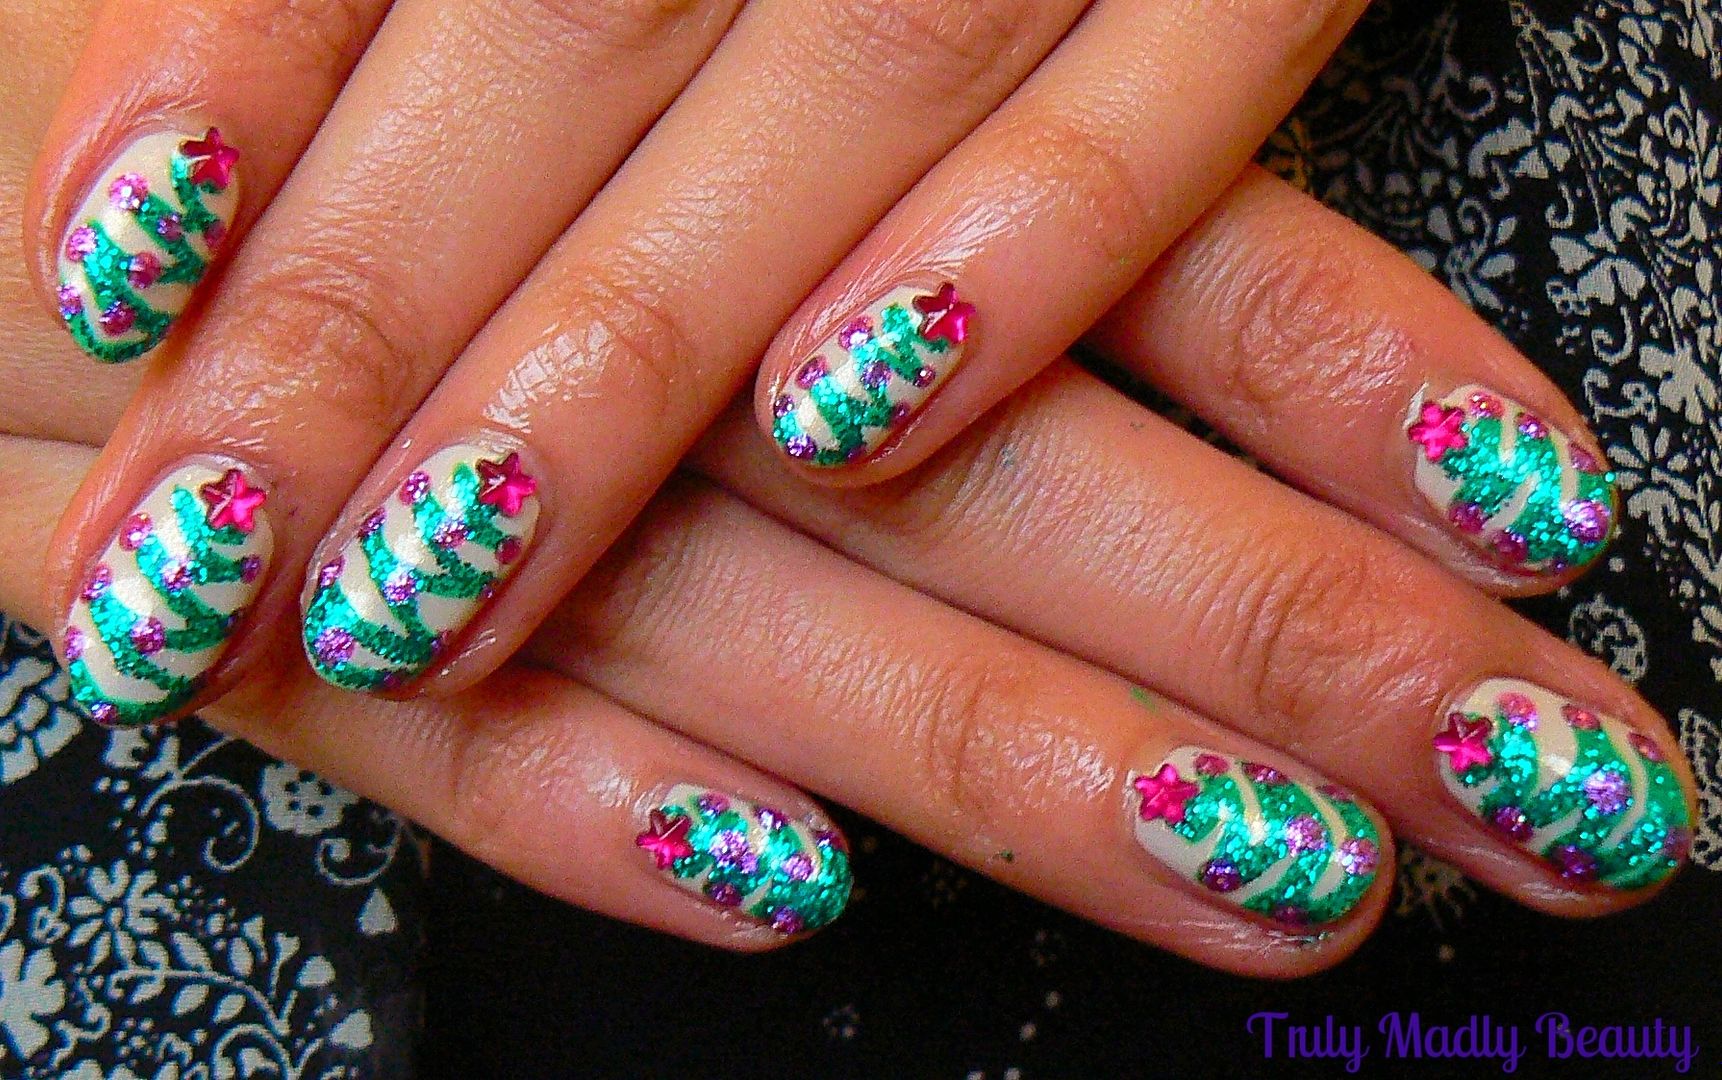
Starting
from the top of the nail by the cuticle, start your tree with a
little curved line at an angle for the top point, then gradually zig
zag your way down the nail, adding more curved lines, making each
line slightly wider than the one above before finishing the bottom of
the tree by the nail tip.
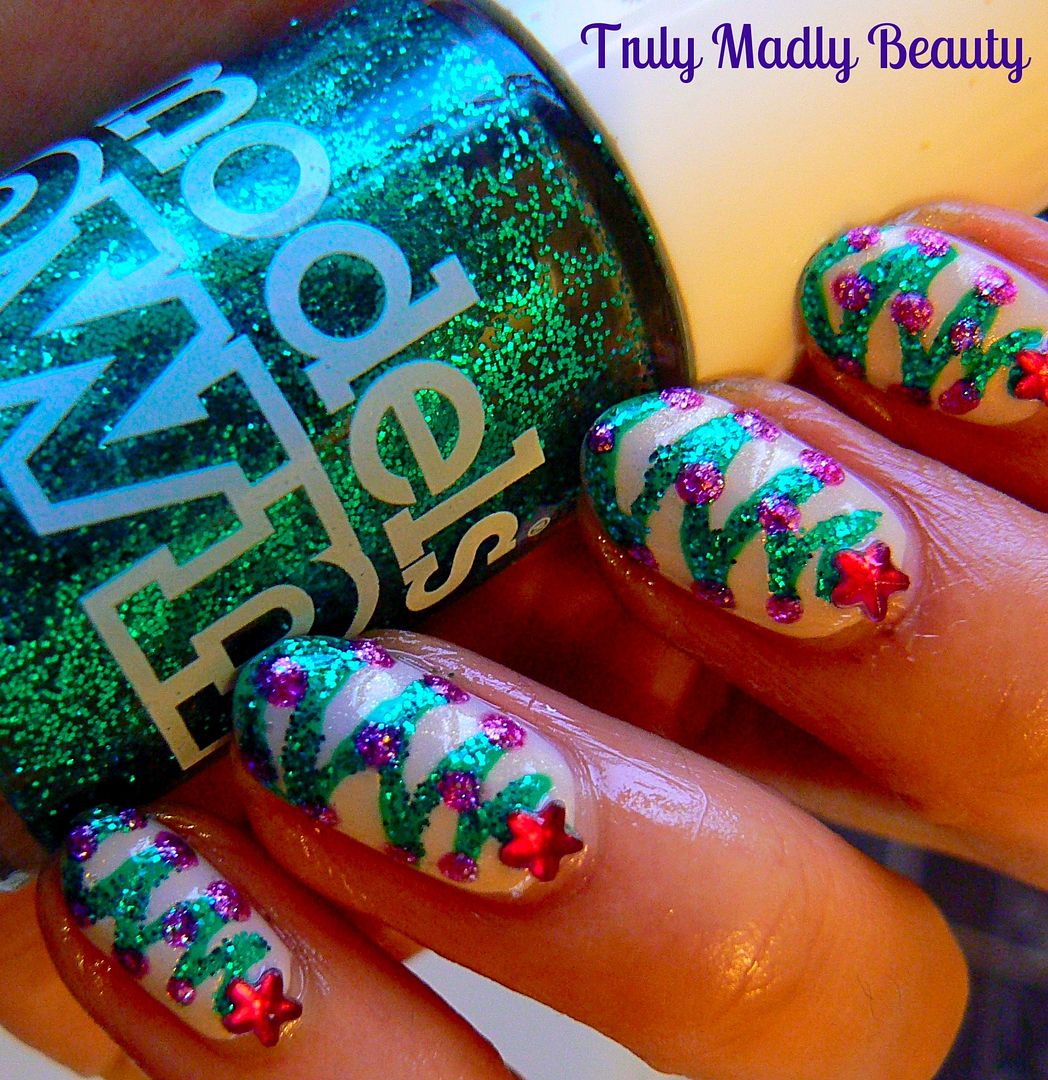
To
add more definition to the trees & because really there is no
need to justify glitter at Xmas is there, I went over the the trees
with Models Own Emerald City glitter.
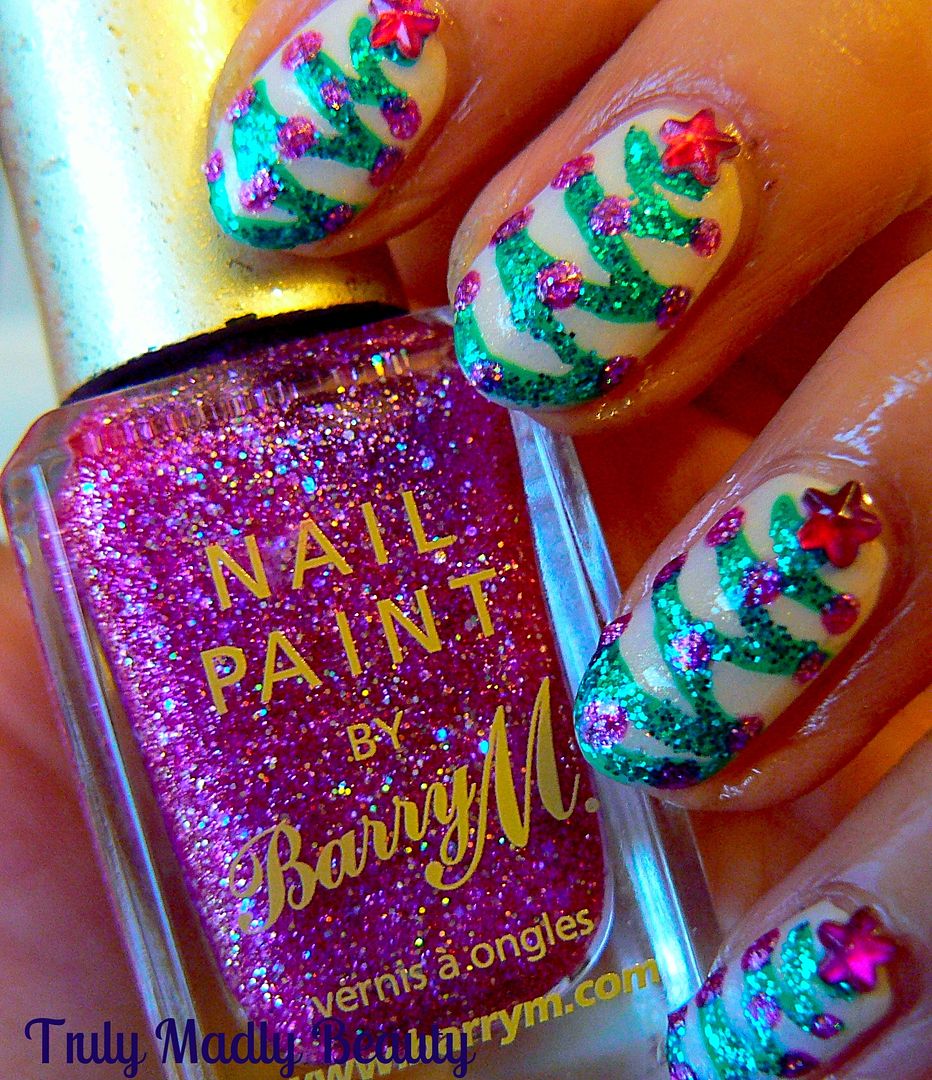
You
can't have a tree without some bauble action so for these I reached
for this lovely bright pink sparkler Socialite by Barry M. Such a lovely
festive shade, I'm tempted to do a pedi with this! To add the baubles
I just used a small dotting tool & dotted the polish on to the
pointed edges & down the centre of the tree.
Finally
every tree needs its topper, here I went for a lovely bright pink
star to crown my trees with.
Finish
it all with a nice slick of topcoat & your done! Hope you liked
this variation on a Christmas Tree manicure lovelies! Thanks for
stopping by!
Lots
of love to ya!

No comments:
Post a Comment
I'd love to hear your comments & thoughts lovely people! They make me happy! :) Do check back as I will always do my best to reply back to you :) xoxo