
Already
Easter is approaching! How do I know this? (apart from the abundance
of bunny filled promos in every retail store) The arrival of
Milkybar Mini Eggs of course! Whilst everyone goes crazy for those
pretty pastel original mini eggs, I myself await eagerly for the
white chocolate form, if you haven't tried these yet...RECTIFY.
Apologies,
I digressed there, tends to happen when chocolate is
involved. Before Easter however is St Patricks day! So prior to going
all Easter obsessed with the nail art, I always love to do a mani or
two to celebrate the Irish holiday, especially as green is one of my
ultimate favs :) I've just remembered that I was in NYC for the St
Patrick's day parade last year...sigh *reminisces* Twas a good day,
the Irish sure do know how to put on a good show!
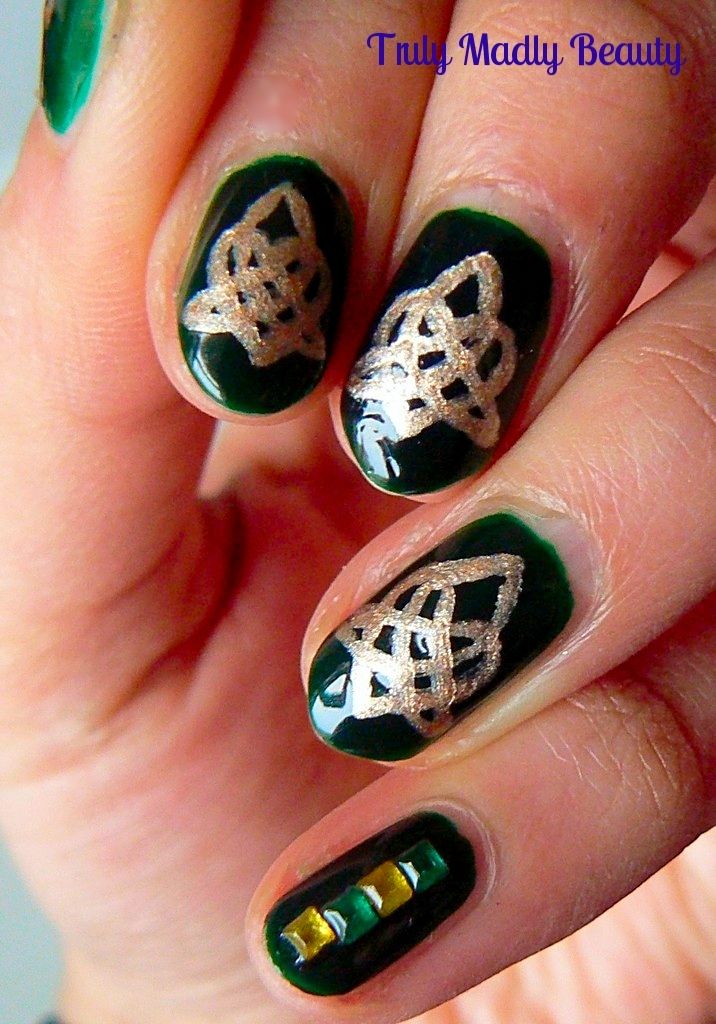
I
wanted to challenge myself with doing something a wee bit different
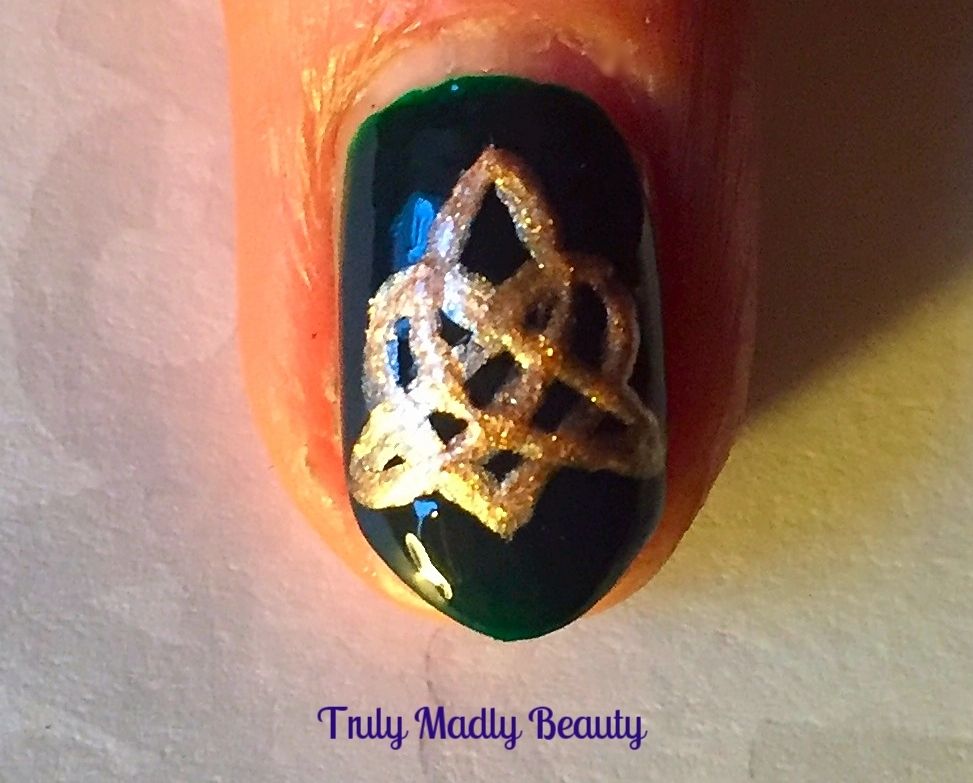
for my first St Patricks Day mani, so I decided to create this Celtic
Love Knot design, which I'll show you how to do as well in 3 steps.
Why I do this to myself I don't know. I must be a closet masochist!
However
I exaggerate, despite the intricacy of the design, once you get the
hang of it, it really is straightforward I promise you! After one or
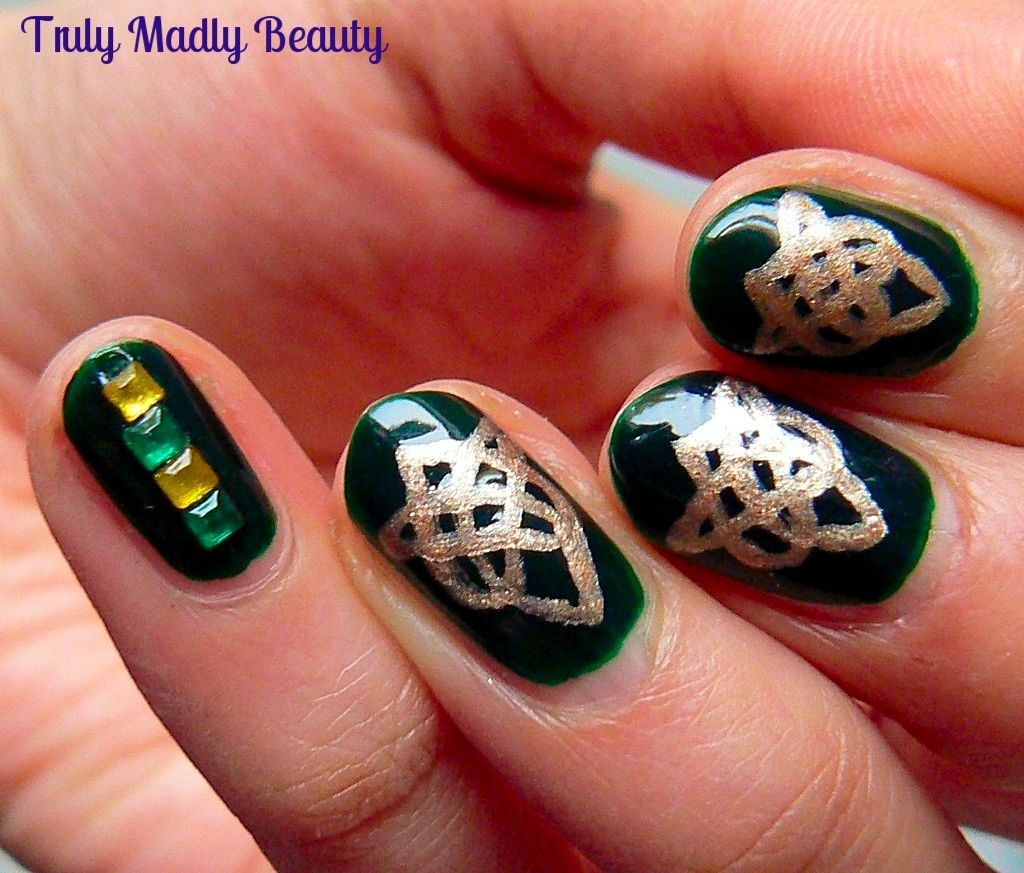
two FAIL nails, I was pretty chuffed with the finish. I adore Celtic
designs & jewellery with their Gothic vibes & I thought it
would be quite fitting for the Irish occasion.

To start with you of course needed a green base, for this I reached for Models Own in Ebony Green, an absolutely gorgeous Gothic vampy green. I don't know...can a green be vampy?! But this one somehow manages it, I just LOVE it. Two coats applied leaves a divine glossy finish.
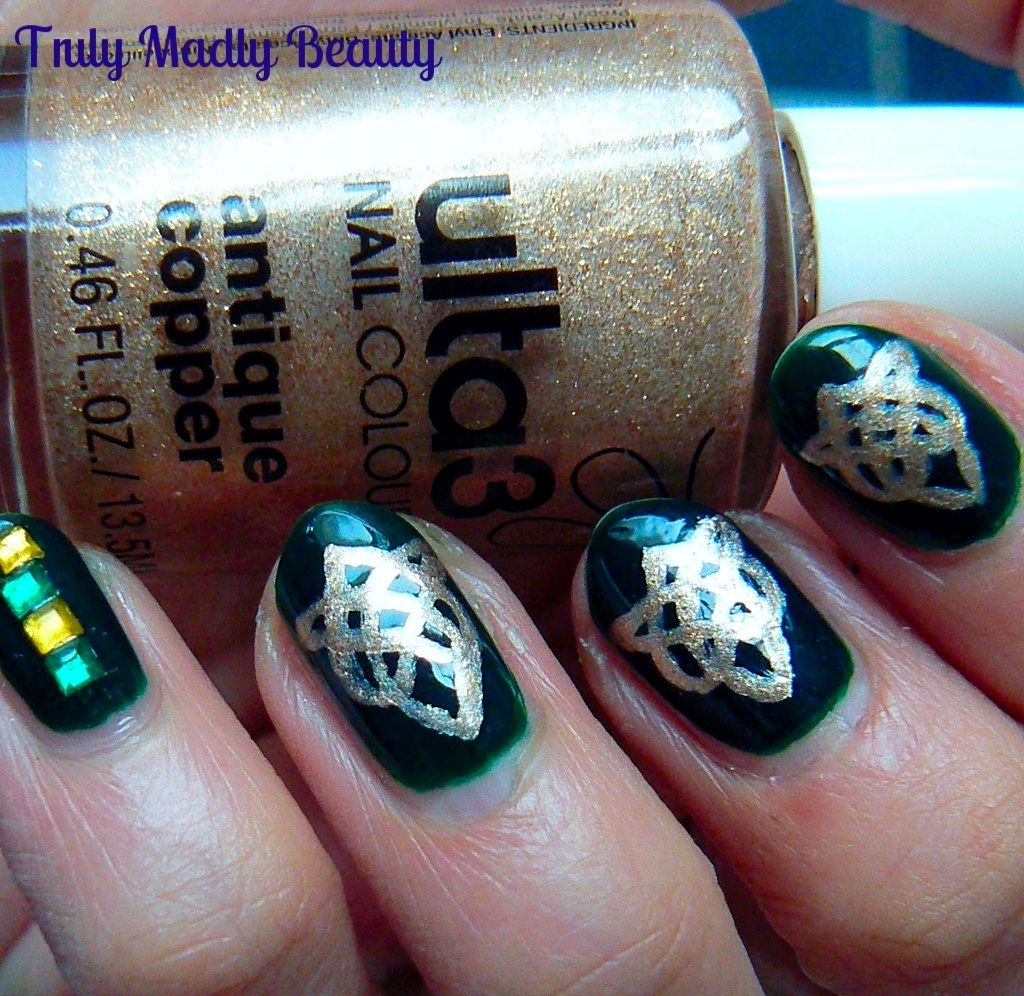
Now
to create the Celtic Knot I wanted a pretty pale bronze gold for that
Medieval feel & for this Ulta3 in Antique Copper was just
perfect. Grabbing my Pure Color 10 nail art brush which is great for detailed
nail art I got started with creating my knots...
To
begin, you first need to draw a heart shape on to the centre of the
nail.
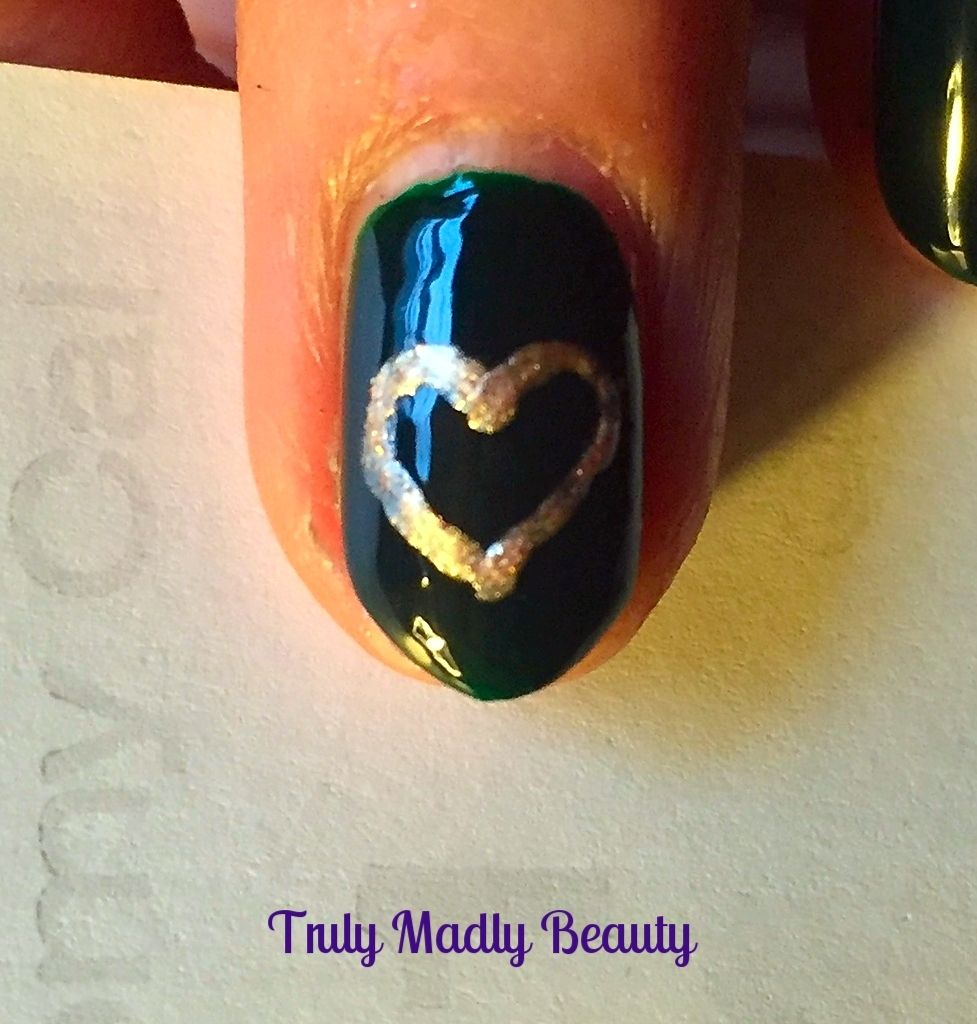
Then
starting from the centre of the top of the heart (where the two
curves meet) draw a straight line going to the left, at a 45 degree
angle, down till you pass through the left side of the heart. Then
continuing from this point slowly bring up a curved line that goes
through the heart again & up past the right curve at the top,
stopping just above the middle of the top of the heart.

Now do the exact same thing for the opposite side, this time drawing a line to the right, then bringing up another curved line, all the way to the centre of the top of the heart, joining the two lines together at the top. Hopefully that made sense & if not then at least the pics can show you each step in detail!
I
couldn't fit a knot on to my pinkie finger so instead just applied
some green & yellow square stones in a row down the centre.
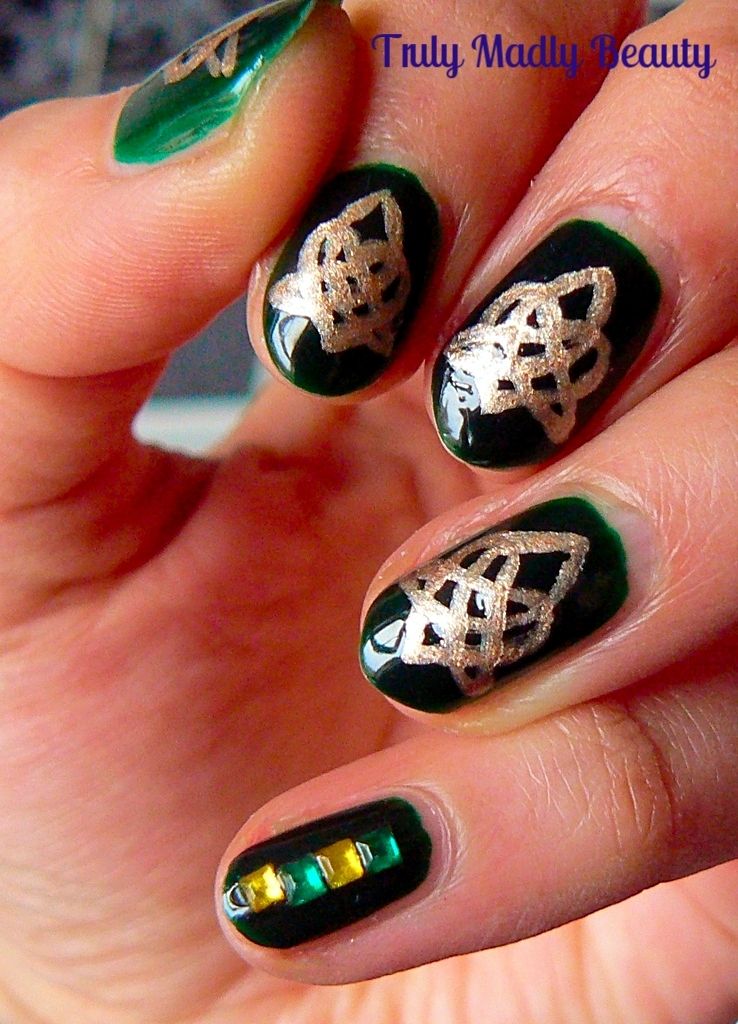
Finish
with topcoat & you're done :)
Needless to say for this particular design my left hand looked a
lot better than my right & my patience was most definitely tested
but I'm so glad I persevered as I loved the finish look & will
definitely attempt again!
Thanks
as always for reading! I'll try & roll out another, more simple
mani idea for St Paddys day later on in the week so keep posted!
Lotsa love to ya!

No comments:
Post a Comment
I'd love to hear your comments & thoughts lovely people! They make me happy! :) Do check back as I will always do my best to reply back to you :) xoxo