
Hello
there lovely readers!
I
found myself in a bit of a dilemma with todays nail art design. You
see, I adore Ancient Egyptian history, if someone would hurry on up
with inventing a time machine, Cleopatra would the first on my list
of historical women to visit!
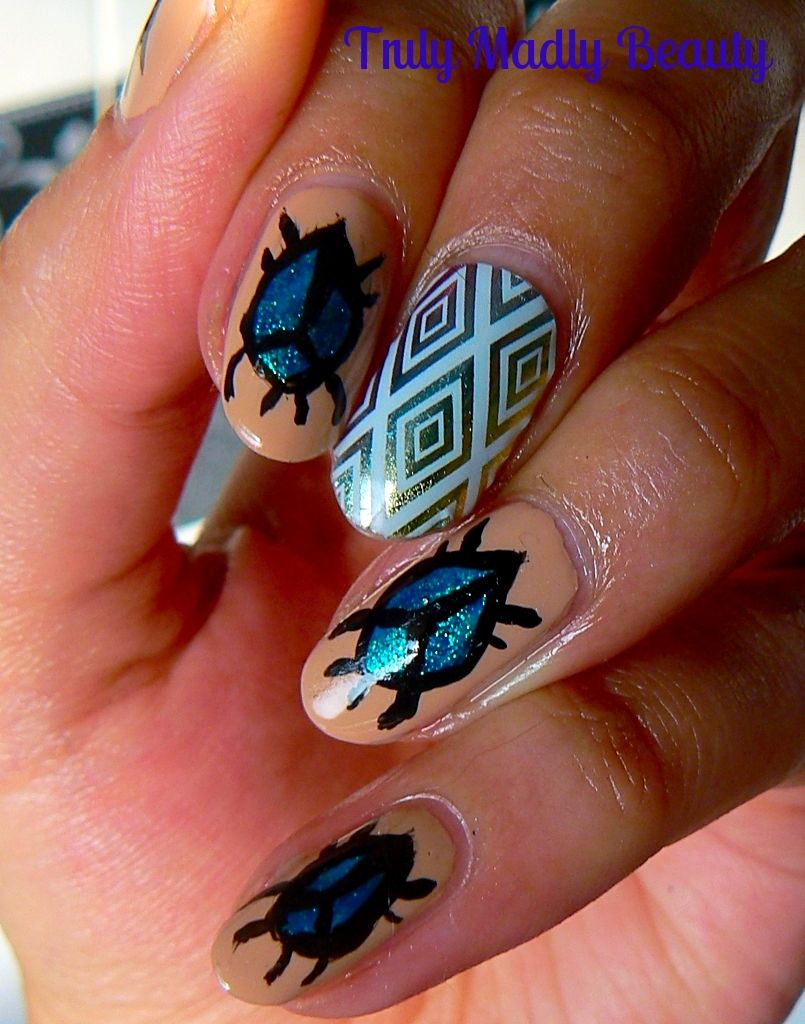
A
well known symbol in Egyptian culture is the Scarab beetle &
after seeing a beautiful jewelled design incorporating stunning
turquoise tones in the shell I knew I wanted to recreate something
similar in nail art form. Herein lies the dilemma....I hate bugs! But
in the name of the nail art sisterhood I decided to set aside my
squeamishness & put those Scarabs on mah nails!
I
managed to dig out a super pretty turquoise green sparkler in my
stash which gave just the finish I wanted for my beetle shells which
chuffed me greatly. I've done a step by step tutorial guide so that
you can create these too!
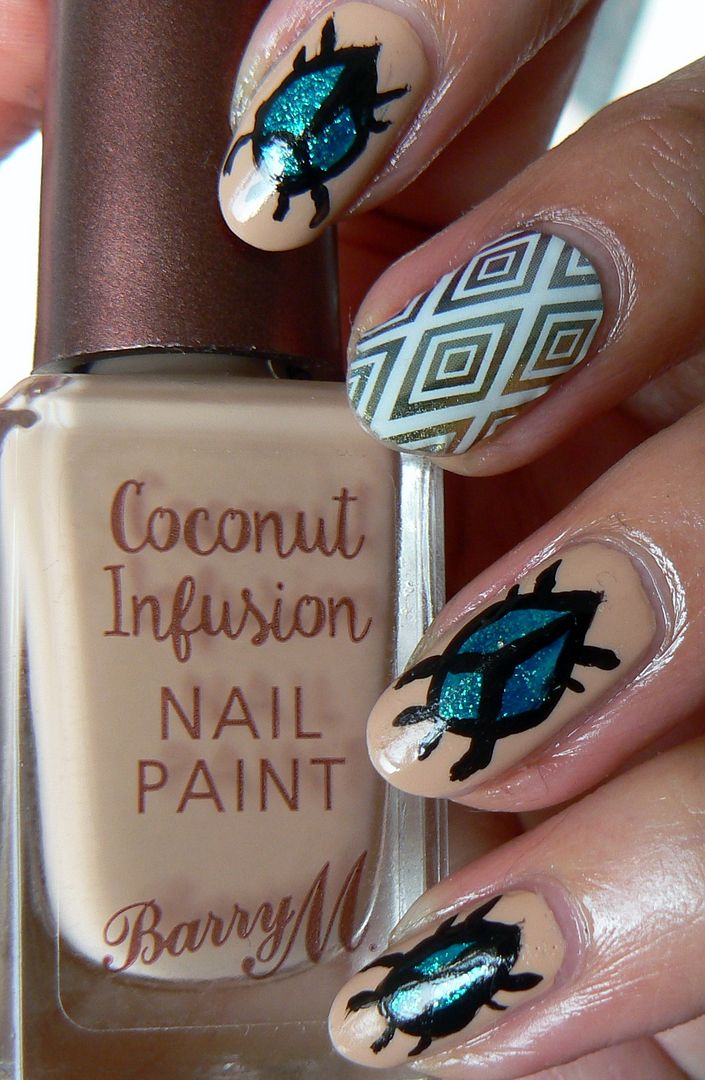
I
wanted my Scarabs to stand out thus required a nude base creating the
perfect opportunity to give Barry M Coconut Infusion in Sunkissed a
whirl!
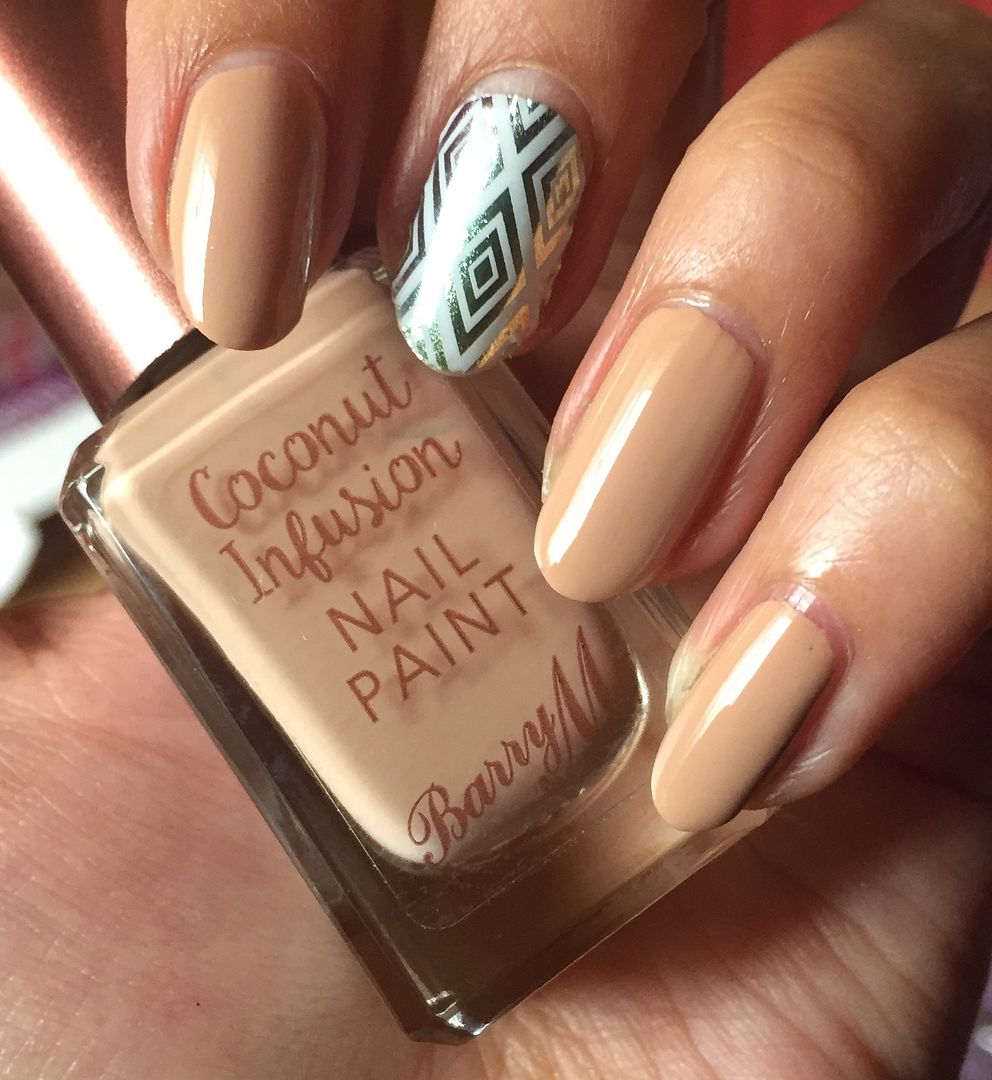
And
dolls...Barry M always has the ability to impress me & the
Coconut Infusion range is no exception. This swatch is just one coat
applied, amazing coverage! The formula was faultless too, top marks
Barry M! The Coconut Infusion polishes require no basecoat, however
I'm currently using a base treatment on my nails (post to come soon!)
so I have not yet tried on bare nails.

After
swooning over the lovely Sunkissed, next step is to add the Scarab
beetles! You'll need an eye catching blue/green turquoise, here I've
used an old brand Fashionista in shade Mystical Dragon, another utterly swoon worthy shade...
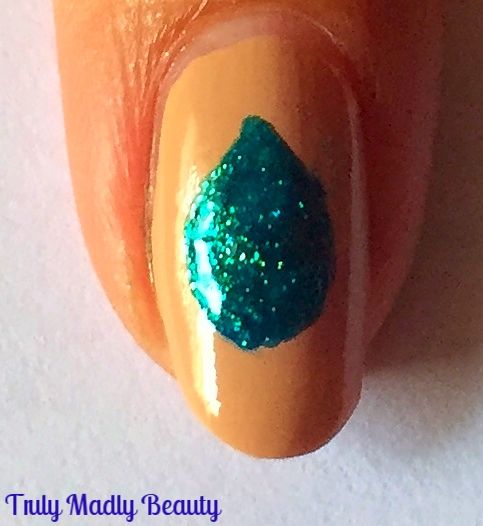
Grabbing
your polish & nail art brush start with applying a teardrop shape
in the centre of the nail. You can actually also use the polish brush
& just place a large blob on the nail, then dragging the top
upwards slightly to create the teardrop :)
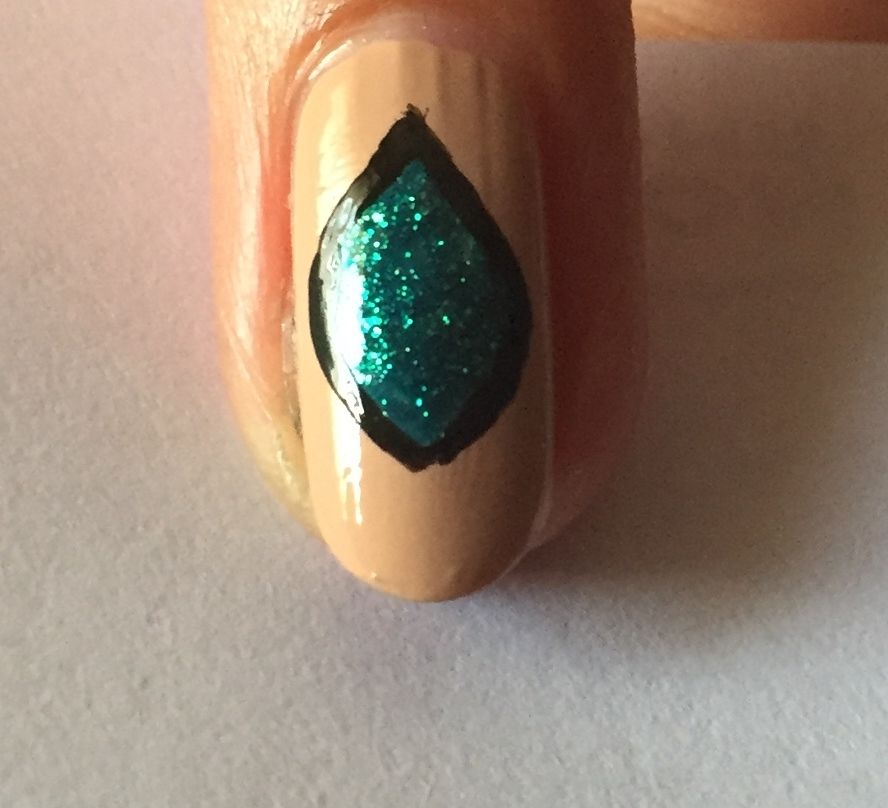
Then
using a black polish & another nail art brush or a black nail art
pen, outline the outer edge of your teardrop in black
Next
add the back legs first by applying two sets of angled lines at the
top end of your teardop going upwards making the topmost legs a bit longer.
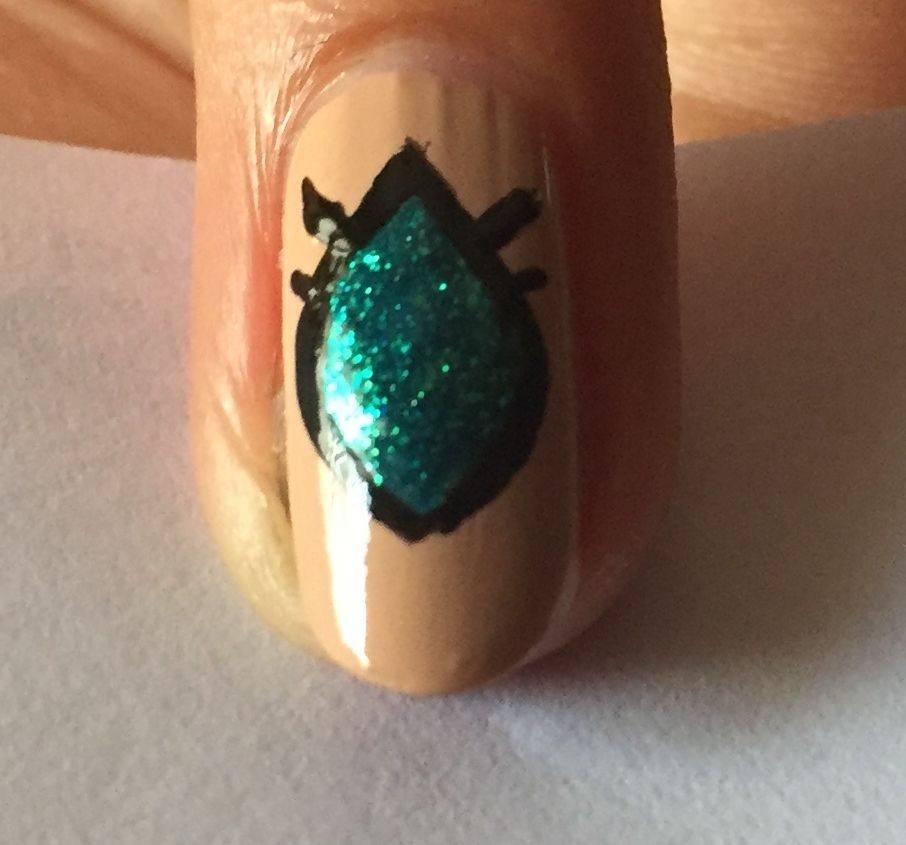
To
create your shell apply a thin black line down the centre, stopping
about ¾ of the way before veering two angled lines in opposite
directions to the bottom as shown.
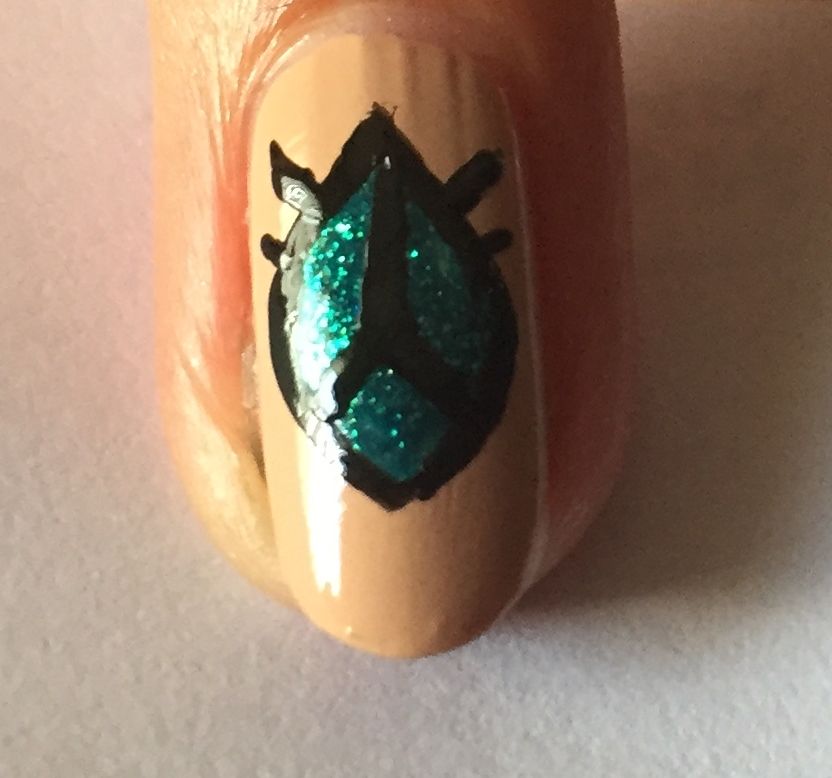
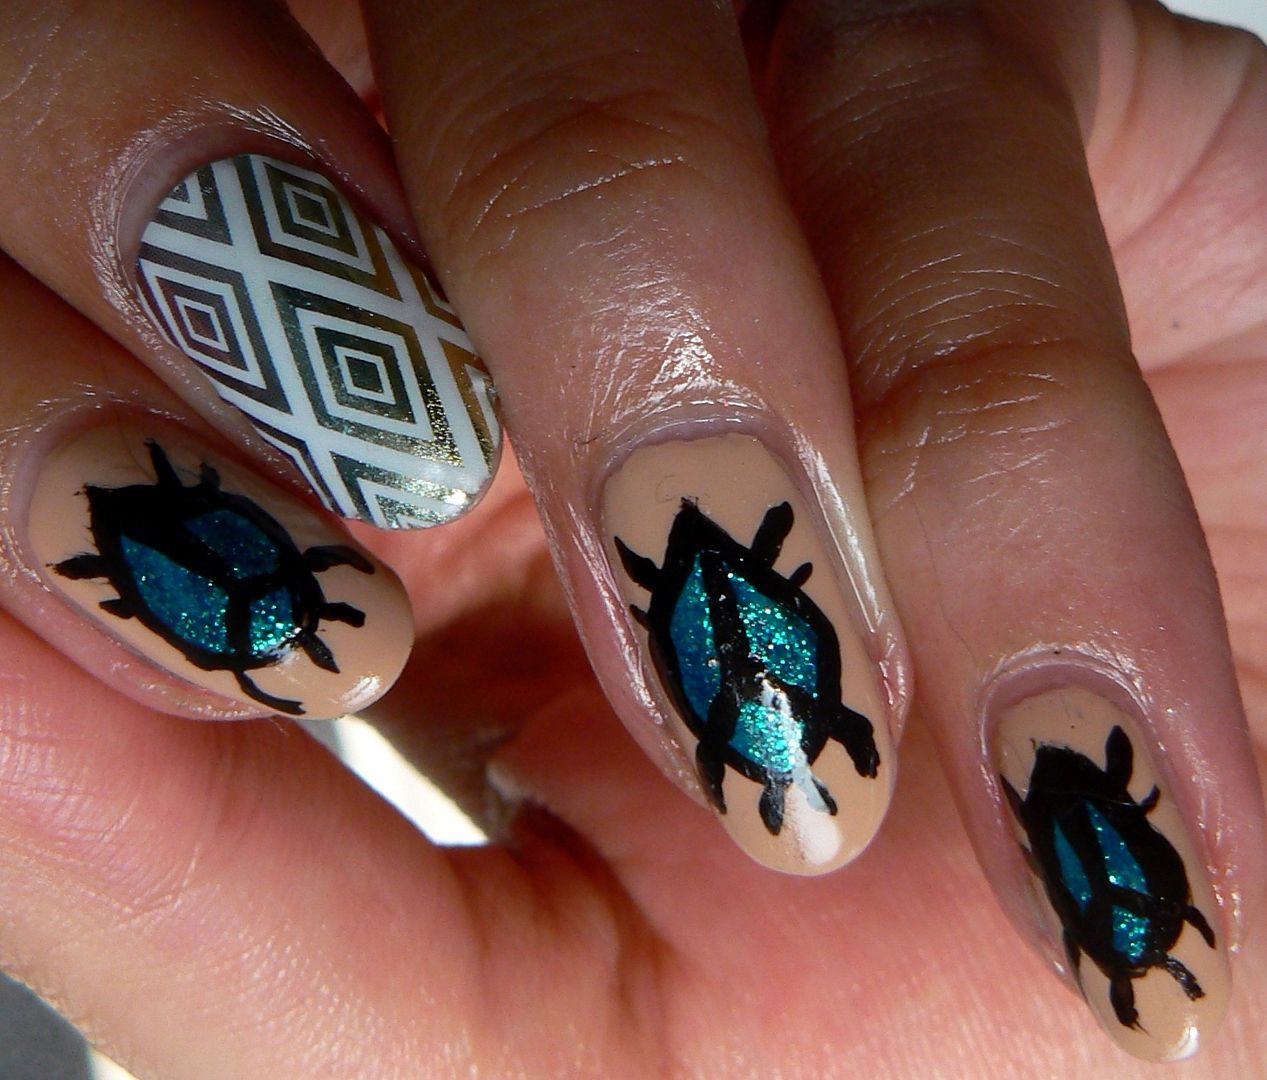
Finally
to complete your Scarab beetle, add on two more lines for the front
legs before finishing with two smaller lines at the end for
the...err...what are these called? Pincers? Antennae? Lets go with
antennae shall we?
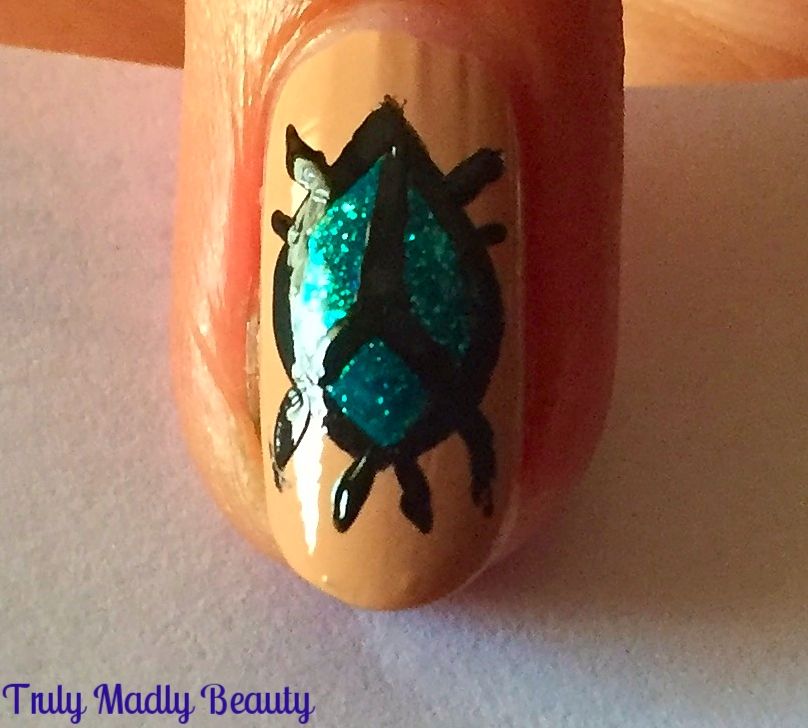
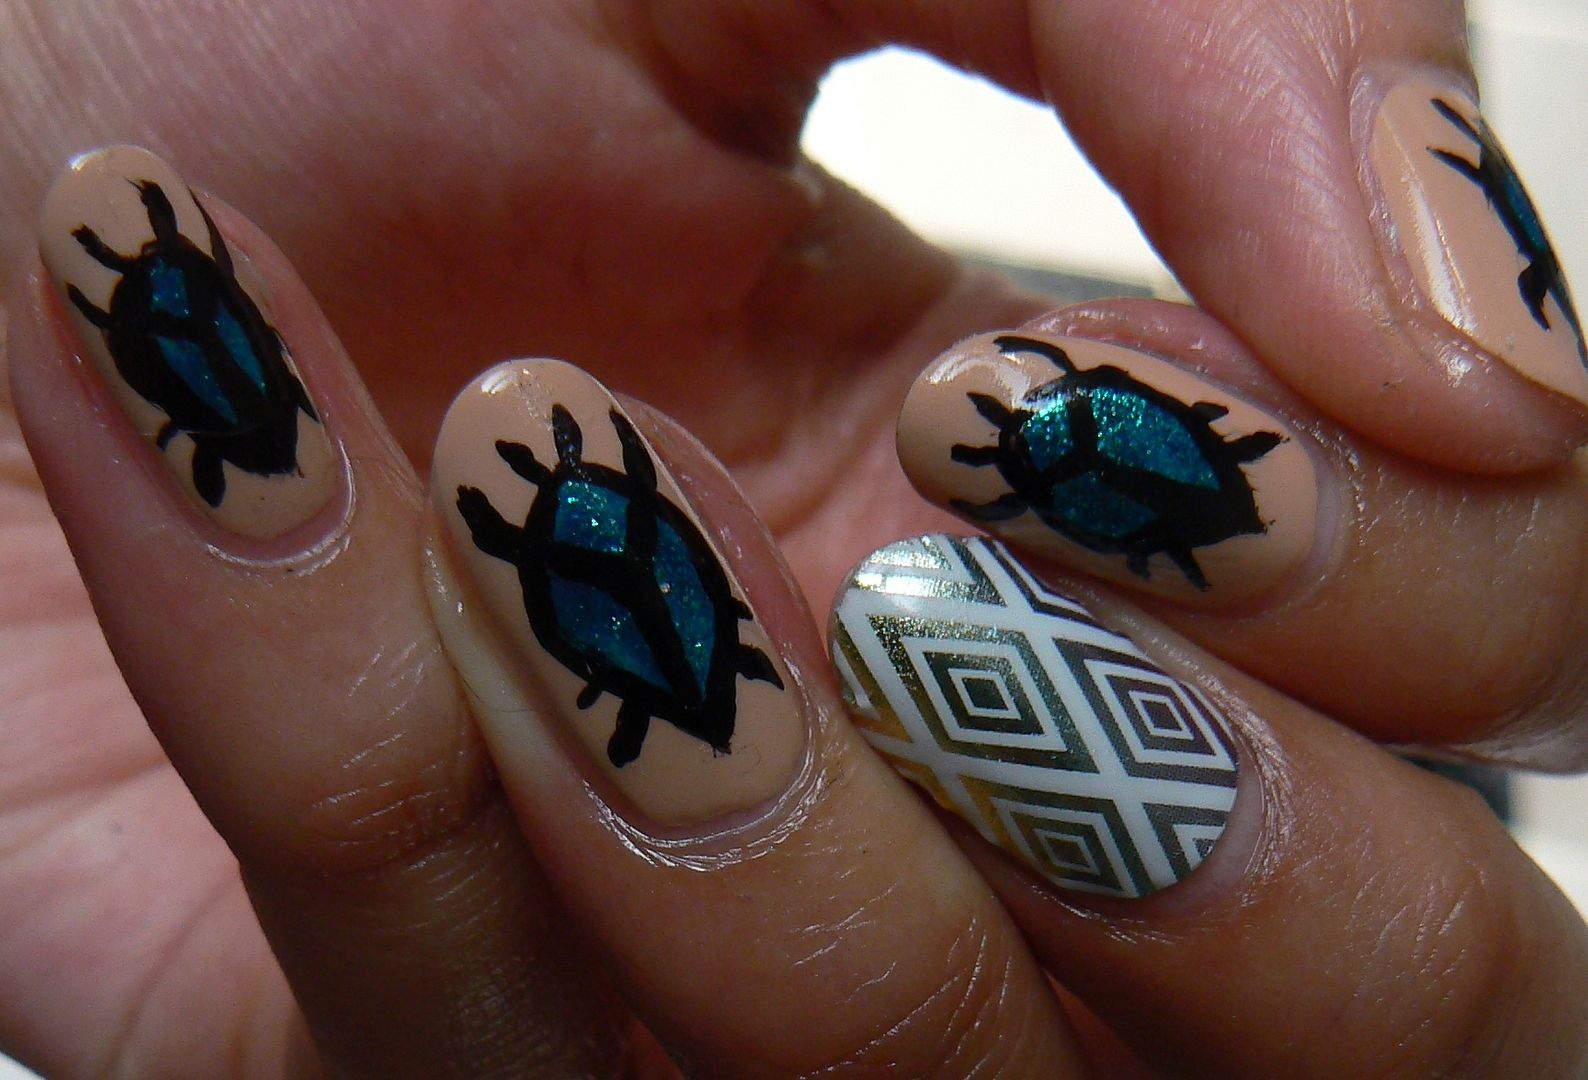
Add
a slick of topcoat to seal it all & you have your Egyptian
Inspired Scarab beetle nails!

As you can see I've got me a Jamberry nail wrap accent going on too on the middle finger with the stunning metallic "Trippin" nail wrap! You can find this beaut wrap & more designs on my website HERE.
Hope you liked! Thanks for reading!
Lotsa
love to ya!

No comments:
Post a Comment
I'd love to hear your comments & thoughts lovely people! They make me happy! :) Do check back as I will always do my best to reply back to you :) xoxo