
Hello
there lovely readers!
Its
no secret my love of the sweet things, being the afternoon tea addict
that I am I couldn't NOT be partial to a slice or ten of cake hmm? If
anything its absolutely necessary for blogging purposes, if I didn't
adore cake...no afternoon tea reviews...sad times.
When
I can combine my petite joys in life with my other greatest passion,
nail art in case you didn't know that already....yes I can feel the
waves of shock emitting from you O_o, then that makes me a happy
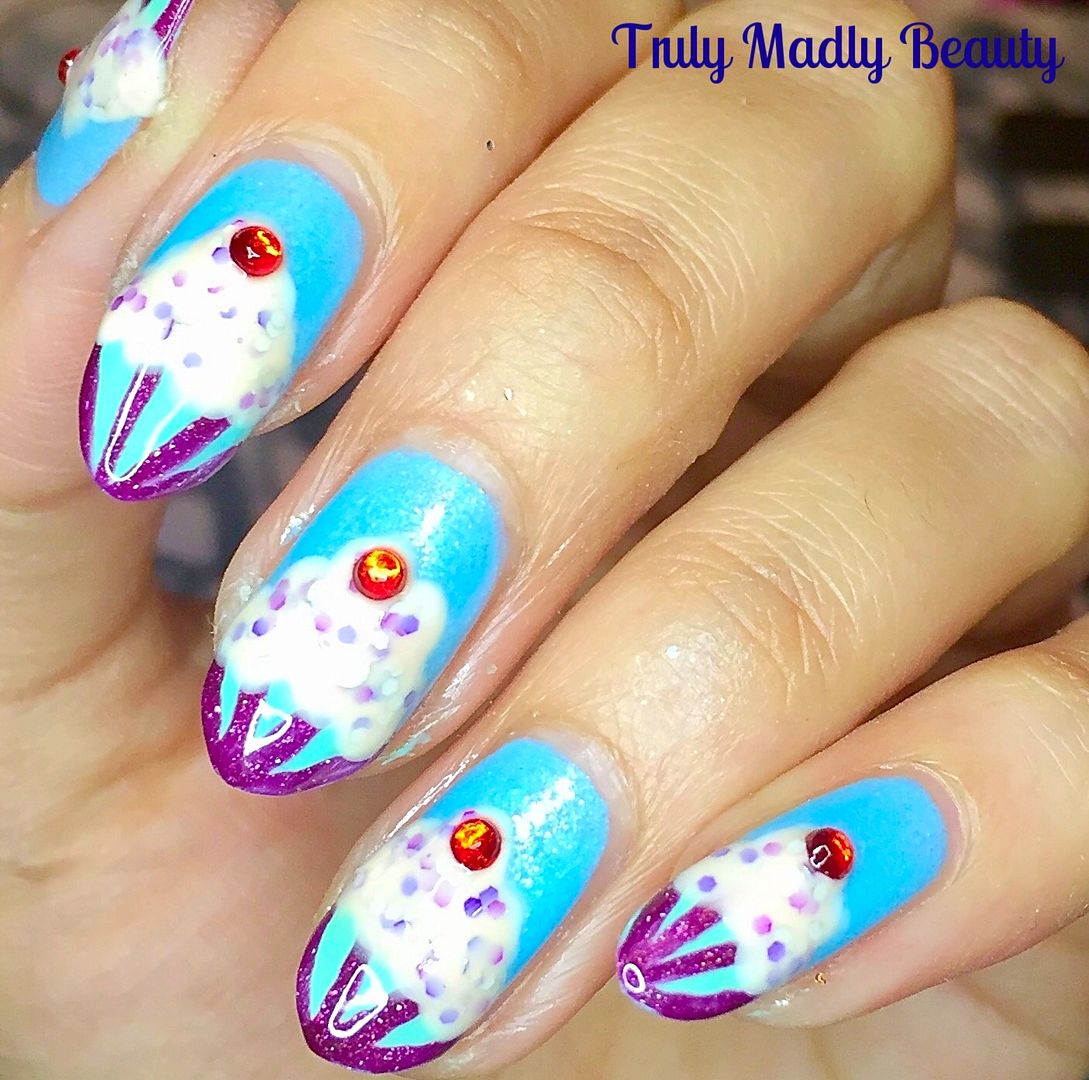
sweet toothed bunny! As you can see I got my inspiration for todays
nail art from that bonny wee treat everyone loves to indulge
in....cupcakes!
I
actually created these nails for an Instagram nail art challenge a
while back which I've started to take part in more of late. Not only
are they a great way to discover absolutely awesome fellow nail art
addict babes but it really gets the creative juices flowing! And I
bloody love the nail blogging community, so friendly & chilled
(aka no drama *side eye*) & I've gotten to know some really
lovely ladies!

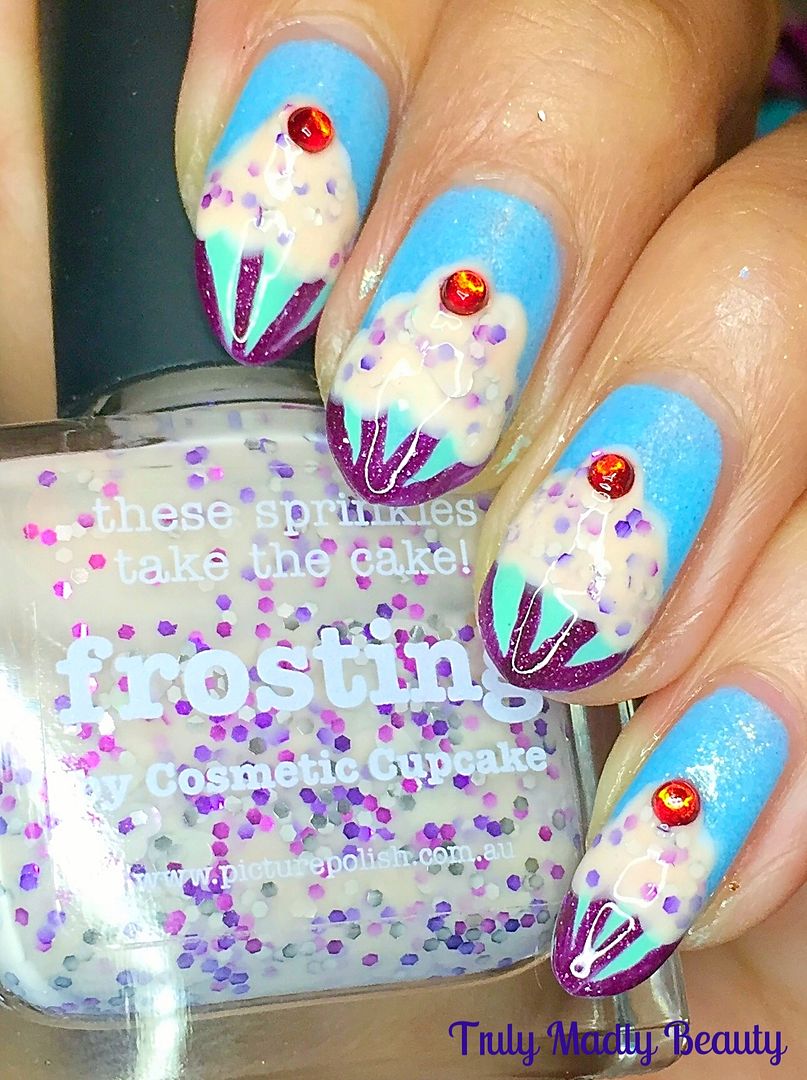
But
back to the topic of cake...the prompt for this design was to create
nail art inspired by the name of your polish...& as the main
polish I happened to use was by Picture Polish in the shade Frosting,
which FYI was my lovely chum Chelle's collab with the company which
is all kinds of friggin awesome, naturally I could only go one way
with it!
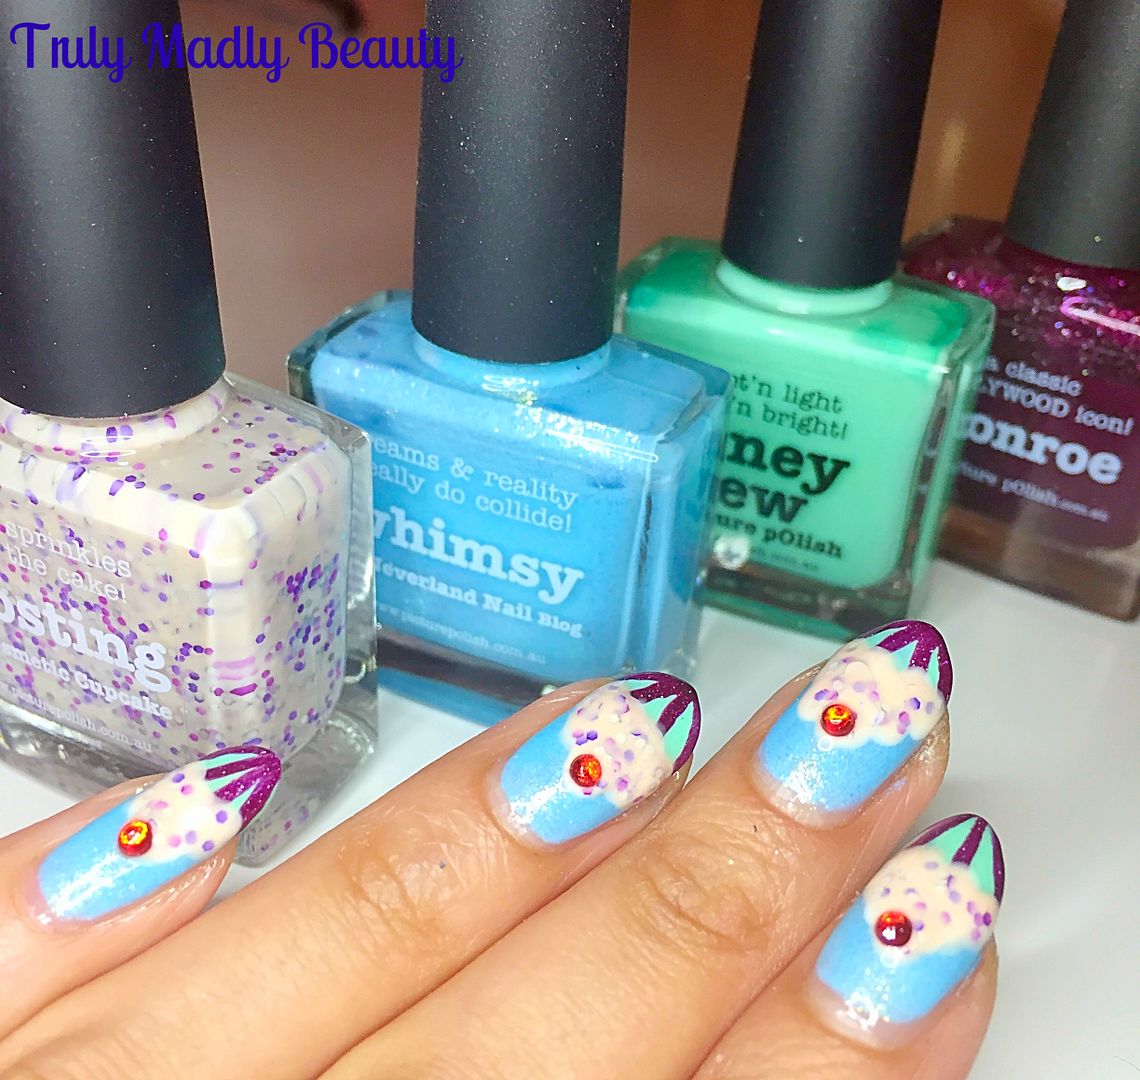
Along
with Frosting I used the opportunity to also dig out my other Picture
Polish shades that I was itching to play with & included those in
this sweet spongy design also!
And
if you would like to also recreate these delicious treats on your
nails too then keep on reading for a step by step pictorial!
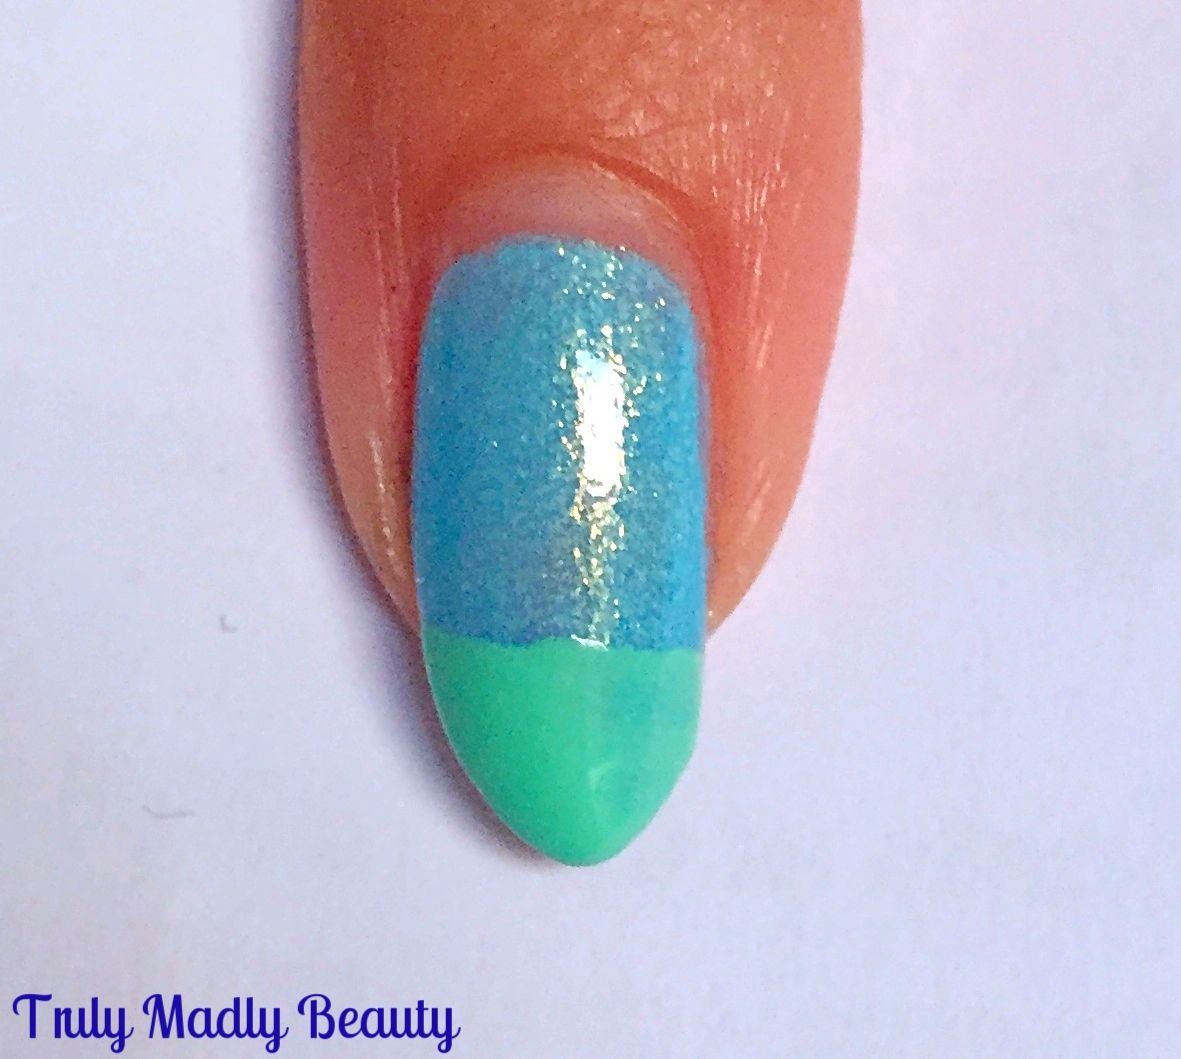
Start
off with your base colour, here I've used two coats of Whimsy, an
utterly gorgeous aqua blue with soft gold shimmer running through it,
so pretty & yes...whimsical!

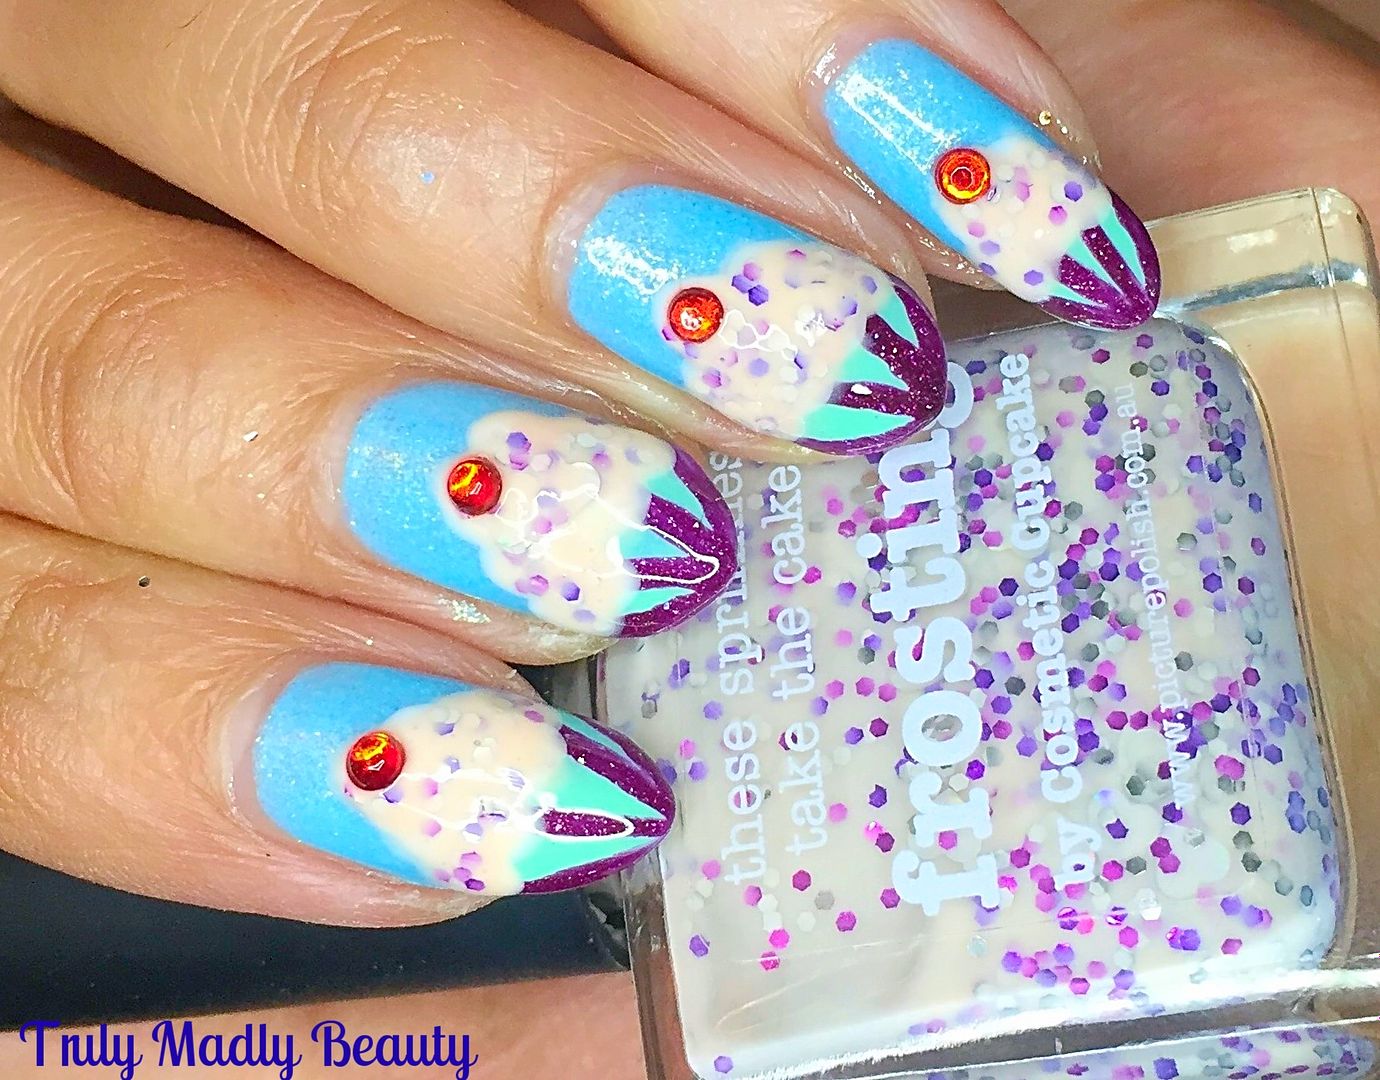
Now
to begin creating the cupcake, starting with the shade Honeydew, a
lush turquoise green creme, I simply applied this along the tip like
shown as this will be our case for the cupcake.
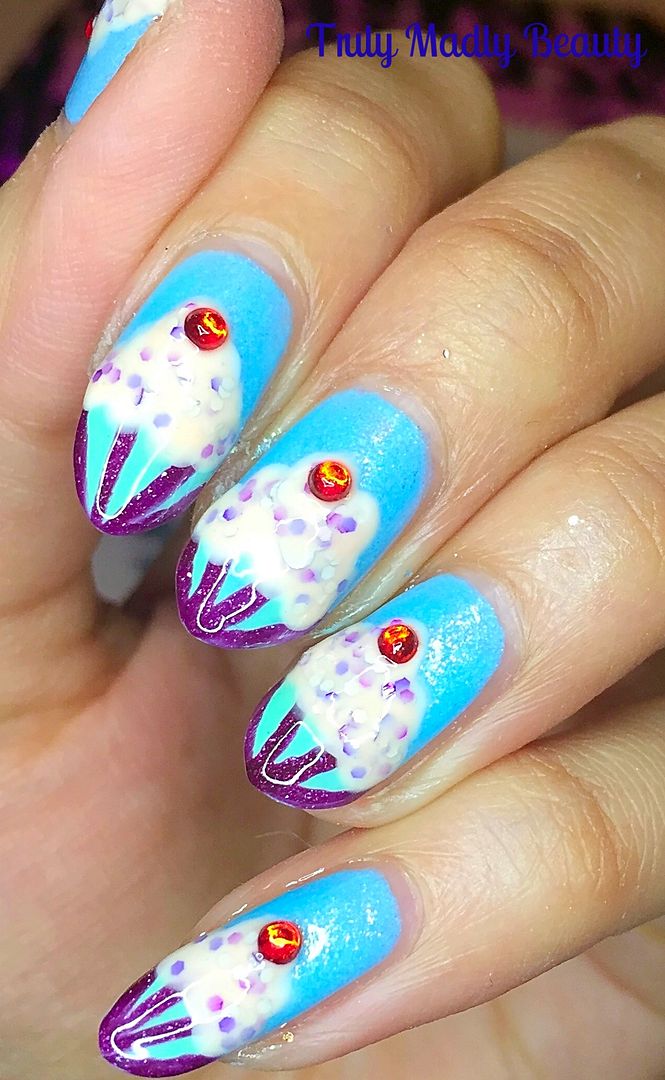
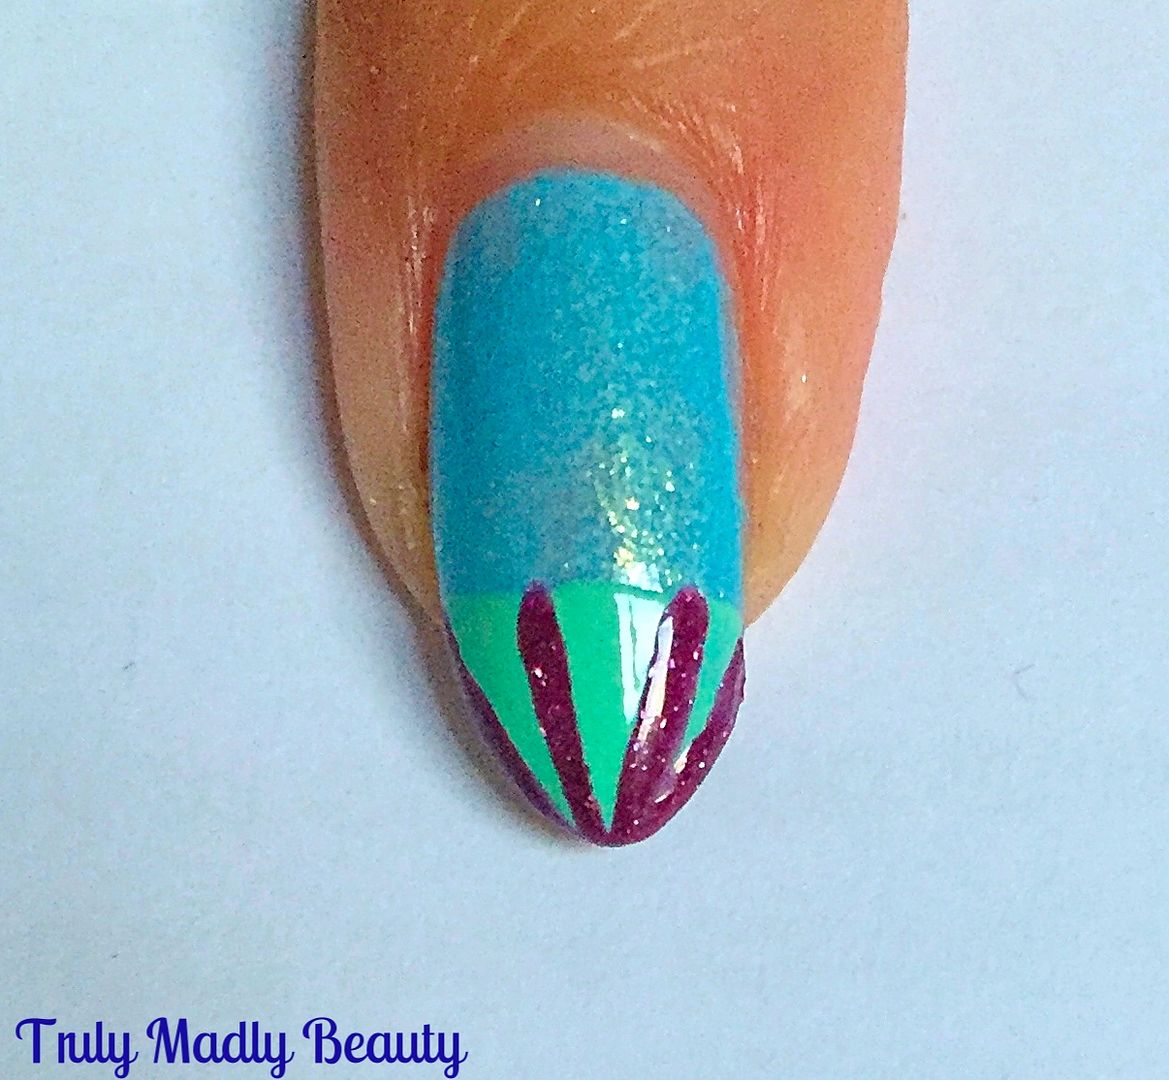
Next
grabbing the shade Monroe, which is a beautiful jewel burgundy, with
holo sparkle running through it *swoons*, I used a fine nail art
brush & added four vertical lines to complete the cupcake case.
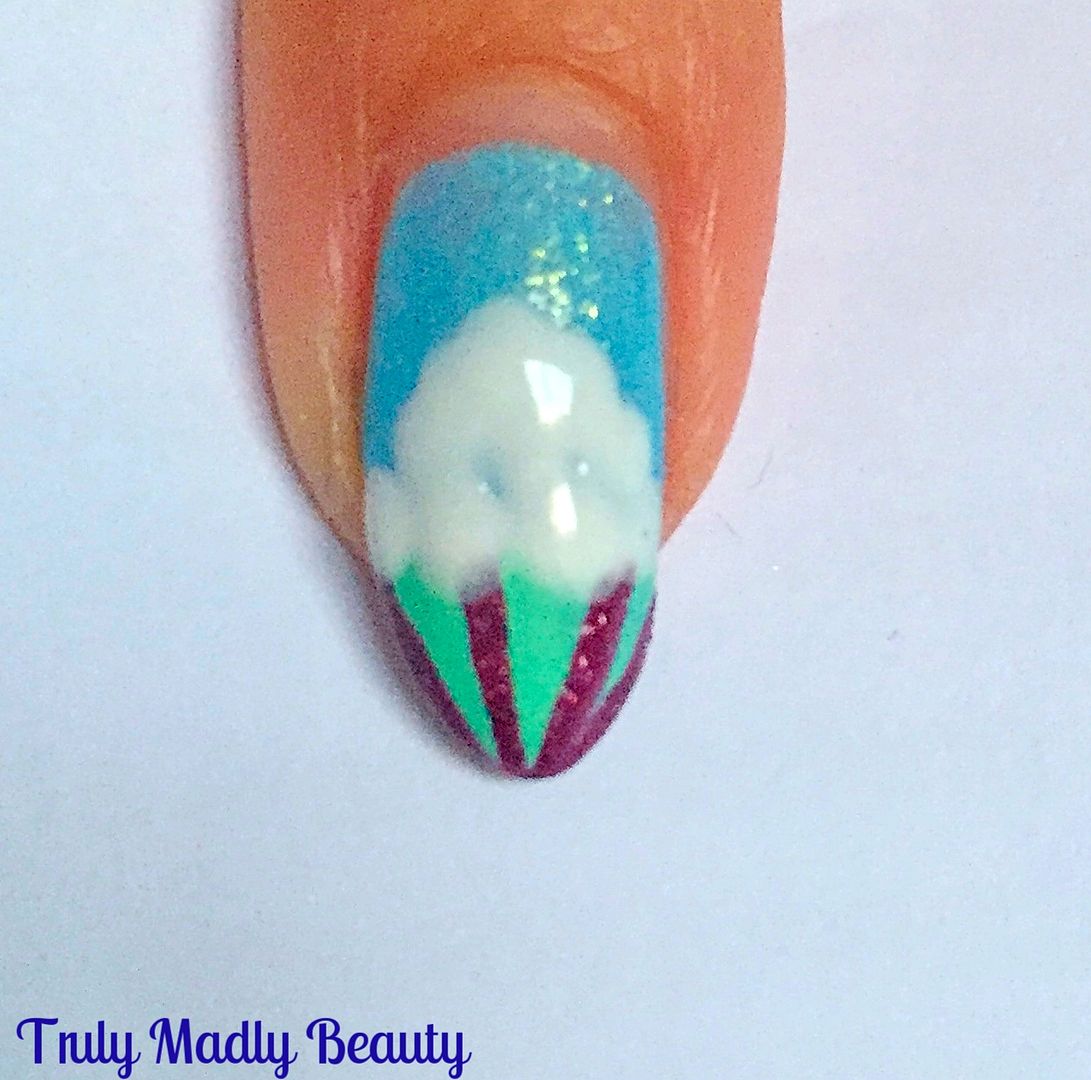
Before
I added the topping for my cupcakes, I first used white polish &
a dotting tool to mark out my cupcake & icing shape above the
case as this would make the final shade stand out much more.
And
now for the Frosting! My friend did good in creating this unique
polish for sure, a yummy milky pink creme filled with silver, pink &
purple glitters as well as adorable wee heart glitters too. I
couldn't think of a more perfect polish for her haha! Using a fine
nail art brush I applied Frosting over the white.
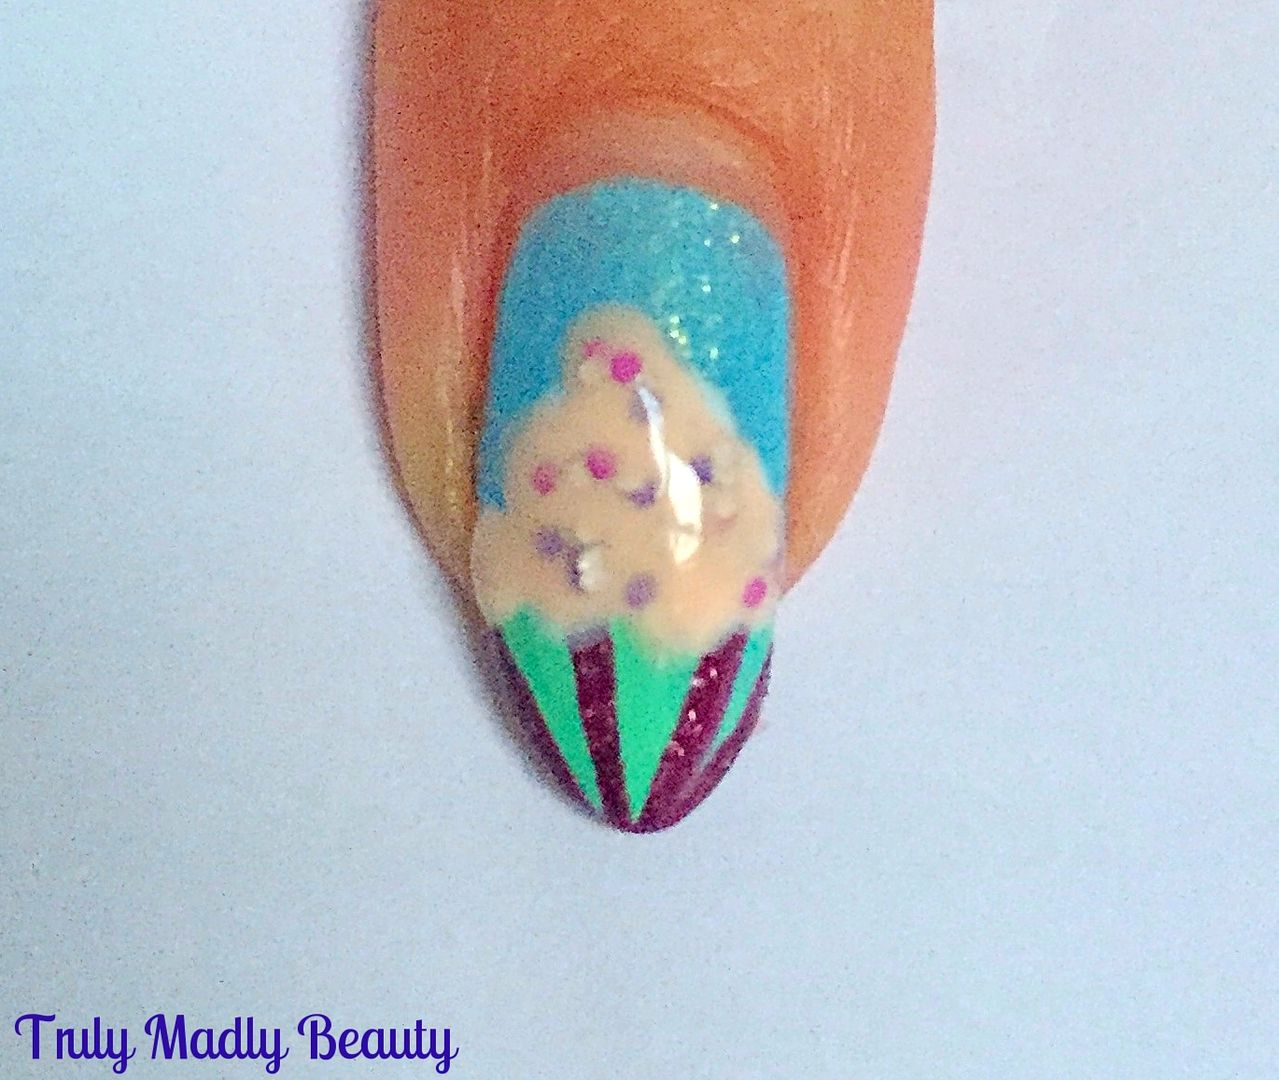
Finishing
my cupcake with a sweet juicy cherry rhinestone & topcoat to seal
& we're done!
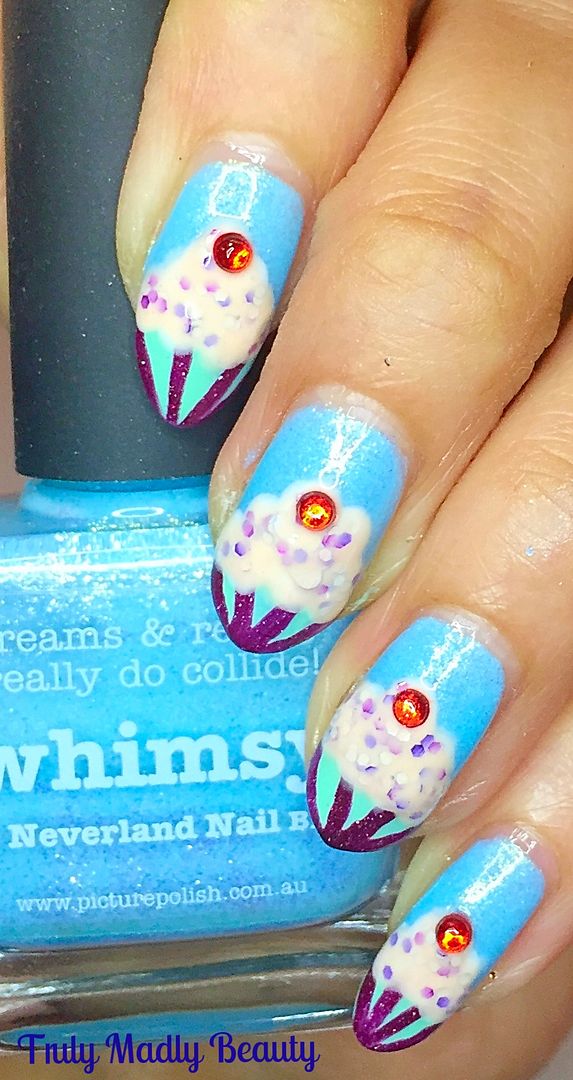
I should warn you these nails may incite strong
pangs of hunger & the mighty need to visit the nearest
Hummingbird Bakery...
Thanks
as always for reading, till next time!
Lotsa love to ya!

No comments:
Post a Comment
I'd love to hear your comments & thoughts lovely people! They make me happy! :) Do check back as I will always do my best to reply back to you :) xoxo